About
Auto-responders let you set up pre-determined messages that go out at pre-determined times, for any referrer or source that offers this option. In Echo, these are considered subscriptions outside the normal conversation flow, until (or unless) the client starts a conversation with you as a result of these messages.
Referrer/Sources You Can Use with Autoresponders
- SMS
- Telegram
- Line
You will see a list of the available autoresponder referrers in your Echo system when you go to Admin>Auto-Responders.
Auto-responder setup is similar across these source types. SMS/texting has a few extra steps, because of US short code and long code (phone number) regulations. This article uses SMS as the primary example.
What the terms mean
| Term | What it means |
|---|---|
| Campaign | One auto-responder stream: a keyword, its opt-in message, and the sequence of messages that follow it. |
| Keyword | The word a person texts (or messages) to subscribe to a campaign. |
| Subscriber | Someone who has opted in to a campaign, either by texting the keyword themselves or being added manually. |
| Opt-in message | The first message a subscriber receives, confirming they subscribed to the campaign they intended. It is required and cannot be skipped. |
| Blast | A one-off message sent immediately to every subscriber on a campaign, outside the scheduled message stream. |
| Short code / long code | The two kinds of SMS sending numbers. A short code is the 5–6 digit number US carriers require for high-volume texting; a long code is a normal 10-digit phone number. |
| MMS | Multimedia messaging — the format SMS uses to send an attachment (image, PDF, etc.) instead of text alone. |
Campaign Creation
There are two parts to setting up and managing an SMS auto-responder campaign. First, fill out the information used in the opt-in, help, and stop messages. Second, build the message stream and manage subscribers.
- Go to Echo > Admin > Auto-Responders.
- Select the Text button for the SMS integration type.

- Select the source/referrer you want to set up an auto-responder for by clicking Campaigns beside it.

- To create a new campaign, select New.

- To fix a campaign flagged missing information, click Edit and complete the missing fields. Once done, select Messages to edit the campaign.
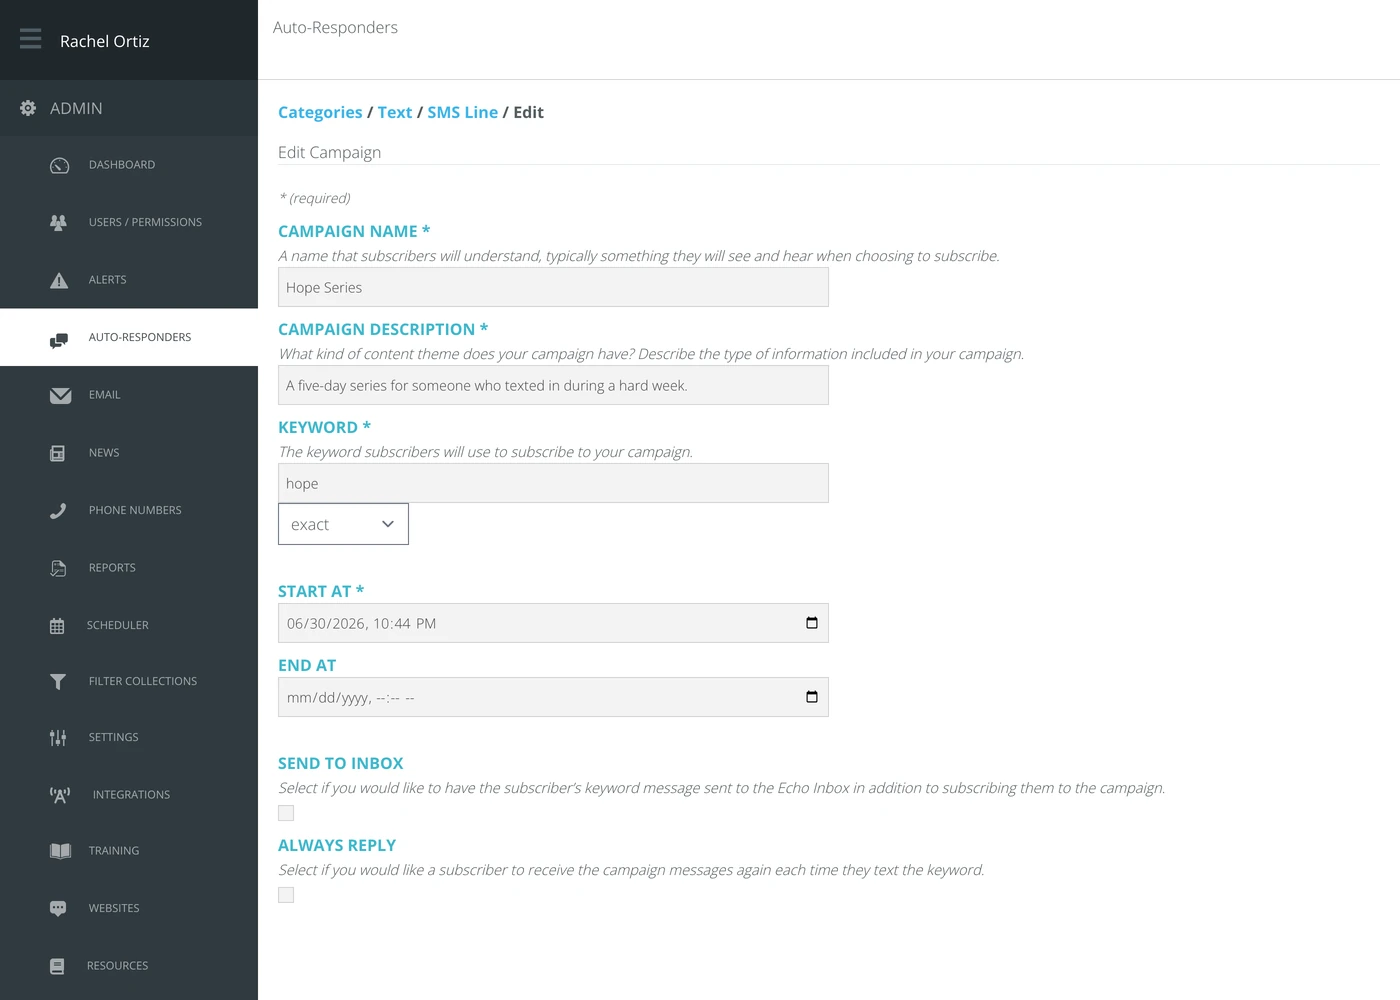
Both New and Edit open the campaign creation form. Fill in the required fields.
Campaign Form Fields
| Field | What it means |
|---|---|
| Campaign Name | A name subscribers will recognize — typically something they will see or hear when choosing to subscribe. |
| Campaign Description | The content theme of the campaign. Describe the type of information it includes (for example, biblical follow-up). |
| Keyword | The keyword subscribers will use to subscribe to this campaign. |
For match type, use starts with in most cases. That way, if someone adds a trailing space to their keyword, Echo still recognizes it. Exact is more accurate, but may require you to check your inbox more often for people who intended to subscribe.
| Field | What it means |
|---|---|
| Start At | When this campaign becomes active for new subscribers. |
| End At | An optional date after which the campaign stops taking new subscribers. Once that date has passed, the campaign is marked COMPLETED and drops off your list of active campaigns; click View All to see it again. |
| Field | What it means |
|---|---|
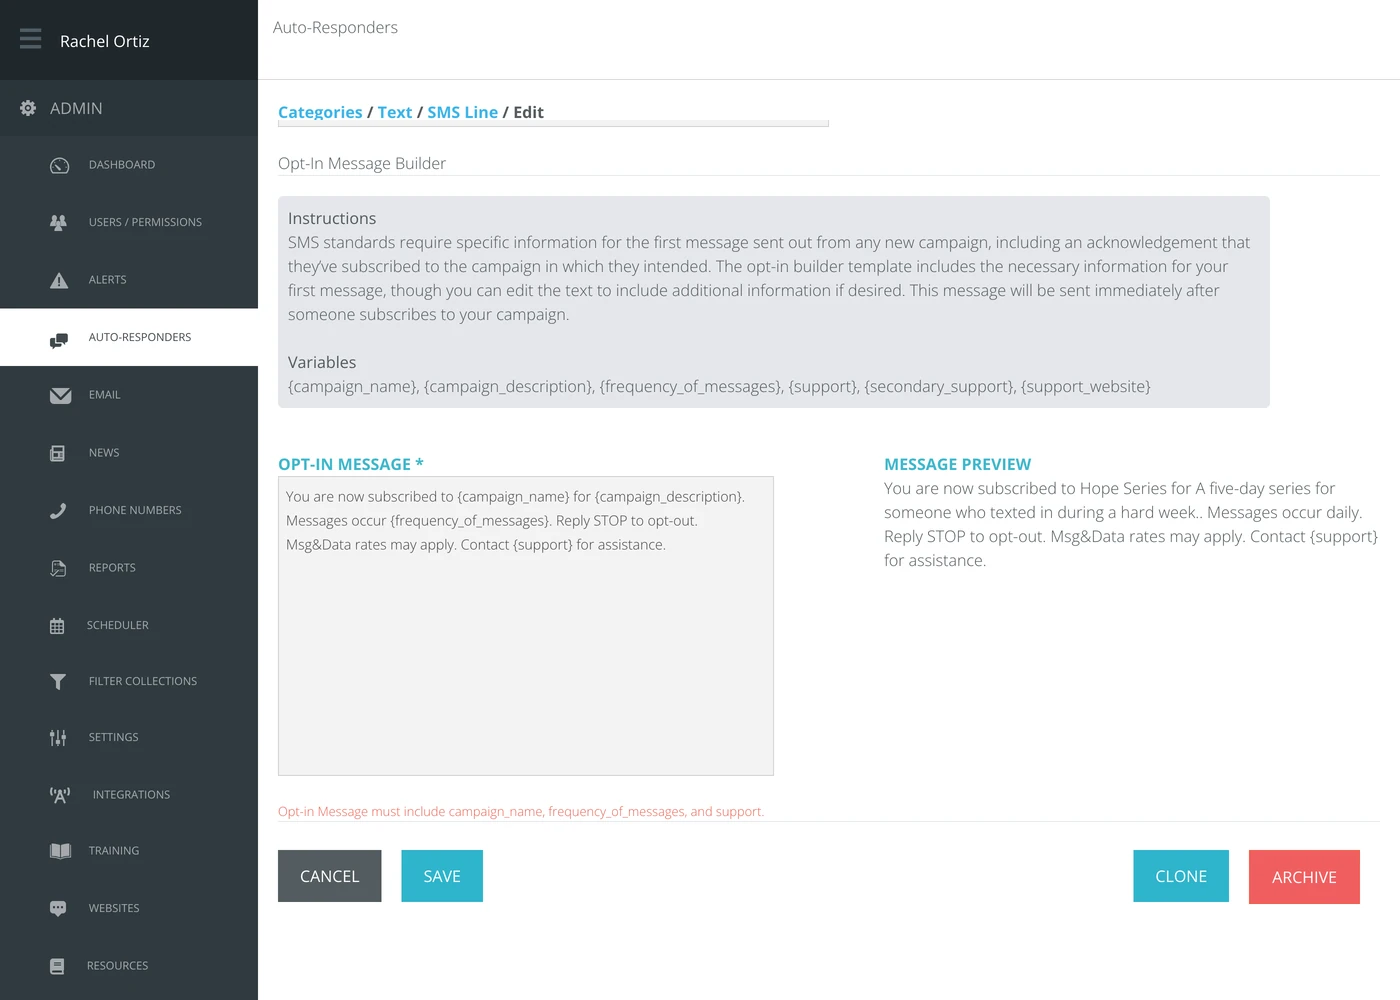
| Send to Inbox | Select this to also send the subscriber's keyword message to the Echo Inbox, in addition to subscribing them to the campaign. |
| Always Reply | Select this to have a subscriber receive the campaign messages again each time they text the keyword. If unchecked, subscribers only receive the messages the first time through; texting the same keyword again after that goes to the Echo Inbox instead. |
| Frequency of Messages | How often the subscriber receives messages from this campaign (for example, once a week for three weeks, or twice a week). |
| Support email or toll-free phone | How a subscriber can reach you with questions about the campaign. Must be an email address or a toll-free phone number. |
| Secondary support email or toll-free phone | If you have both an email and a toll-free number, add one in the field above and the other here. |
| Support website | A website associated with the campaign or ministry, if there is one. |
Opt-In Builder Template
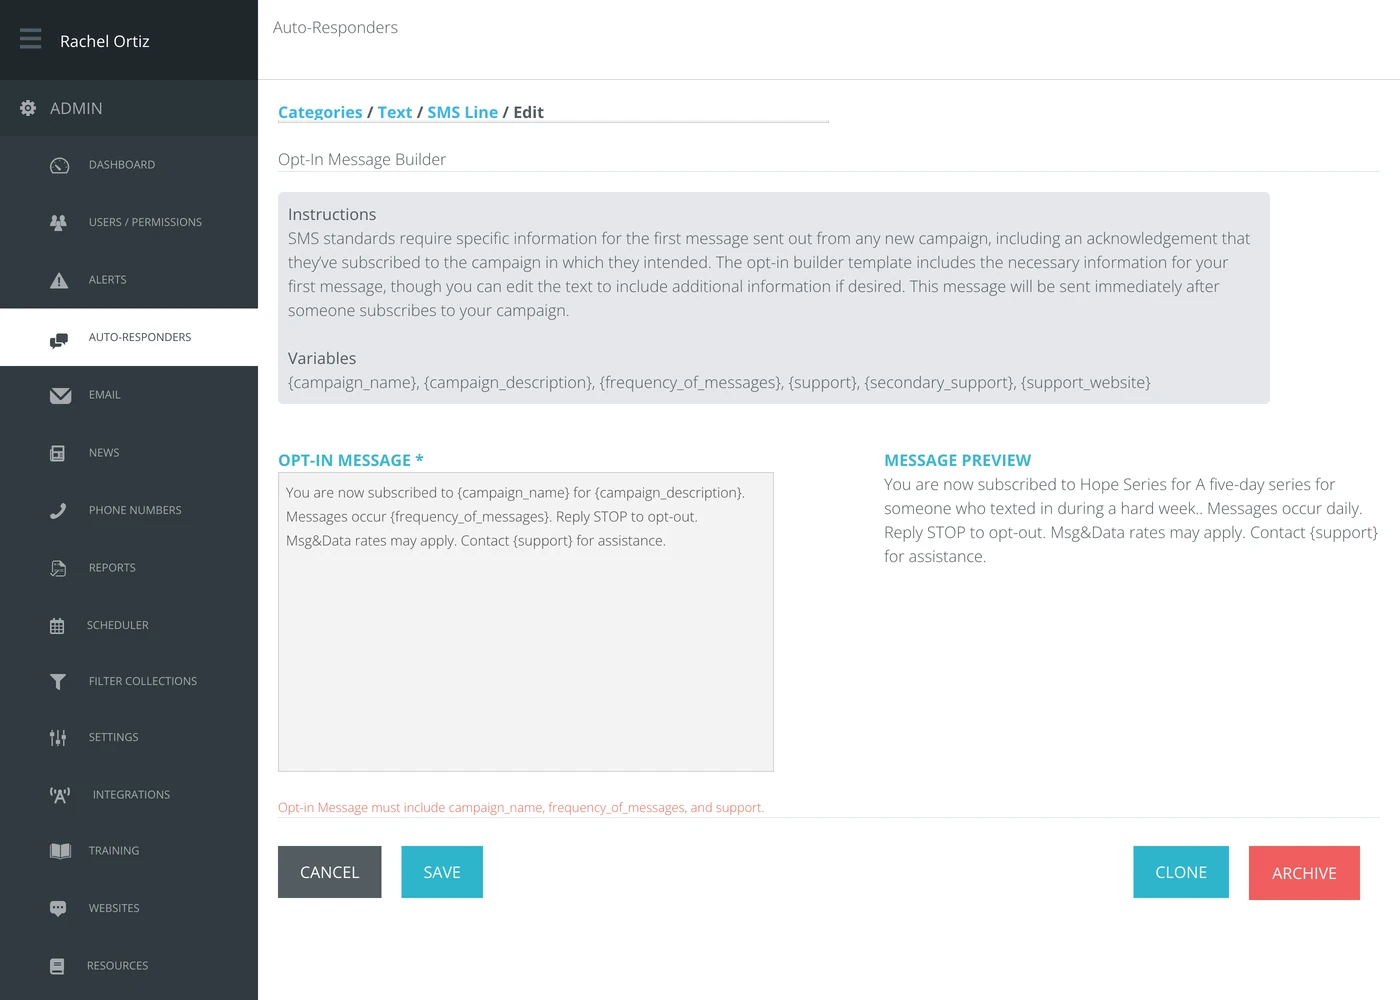
SMS standards require specific information in the first message sent from any new campaign, including an acknowledgment that the subscriber joined the campaign they intended. The opt-in builder template fills in the required information from what you've already entered, and you can edit the text to add more.
The opt-in message goes out immediately when someone subscribes to your campaign. It cannot be bypassed — it is a requirement.
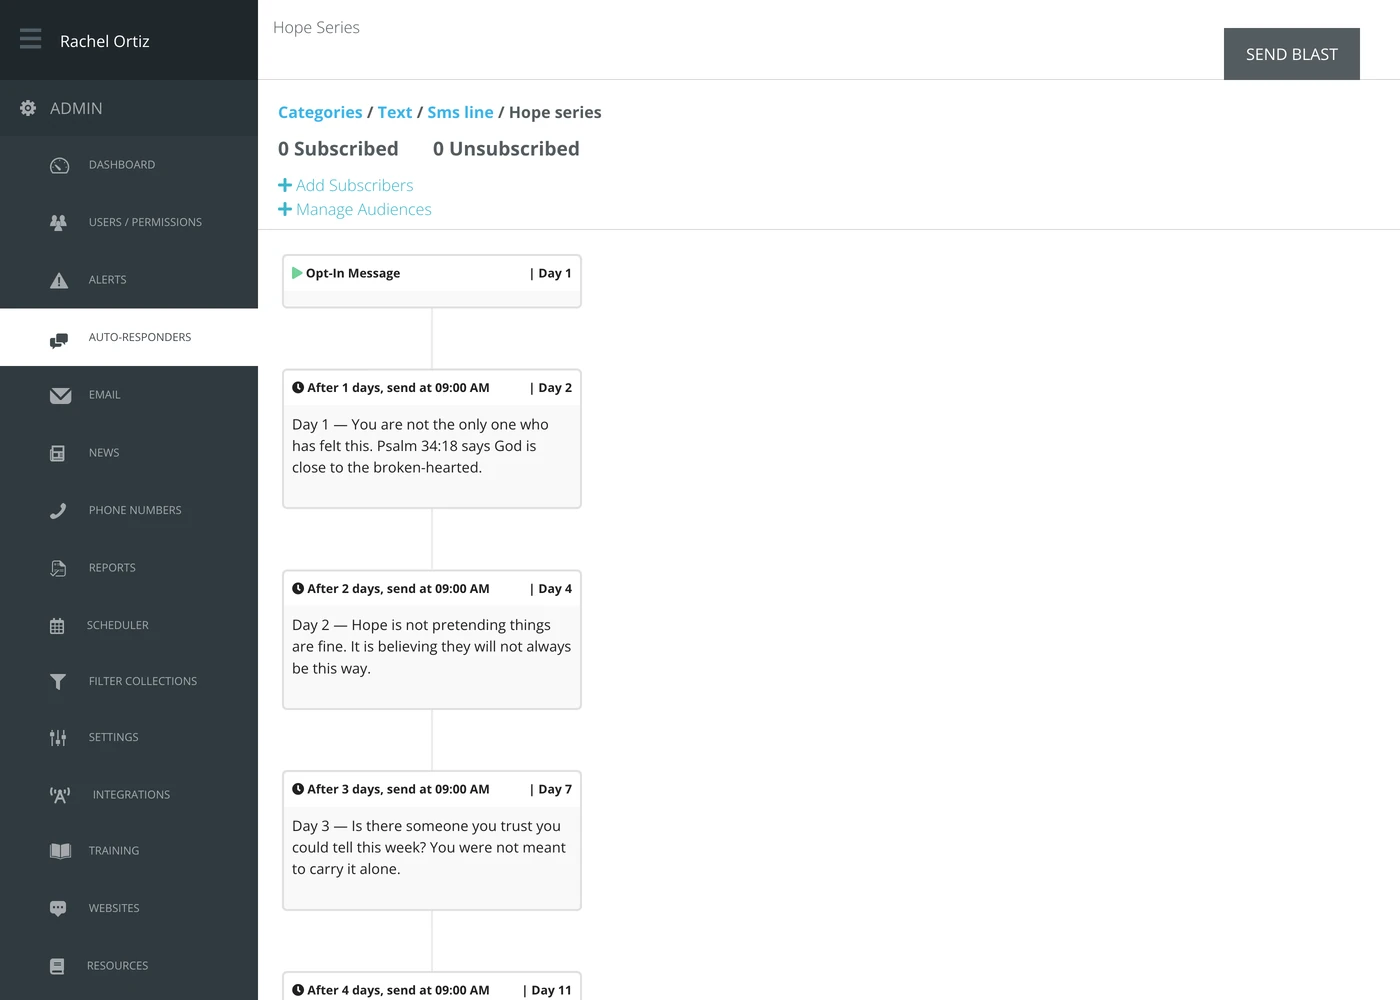
Once you submit this information, you'll be taken back to the list of campaigns for that source.
Message Builder
- Once the required campaign information is saved, click the Messages button beside Edit to begin building (or editing) your auto-responder message stream.
At the top of the page you'll see confirmation of which keyword campaign you're working in, and page navigation back to the previous page.
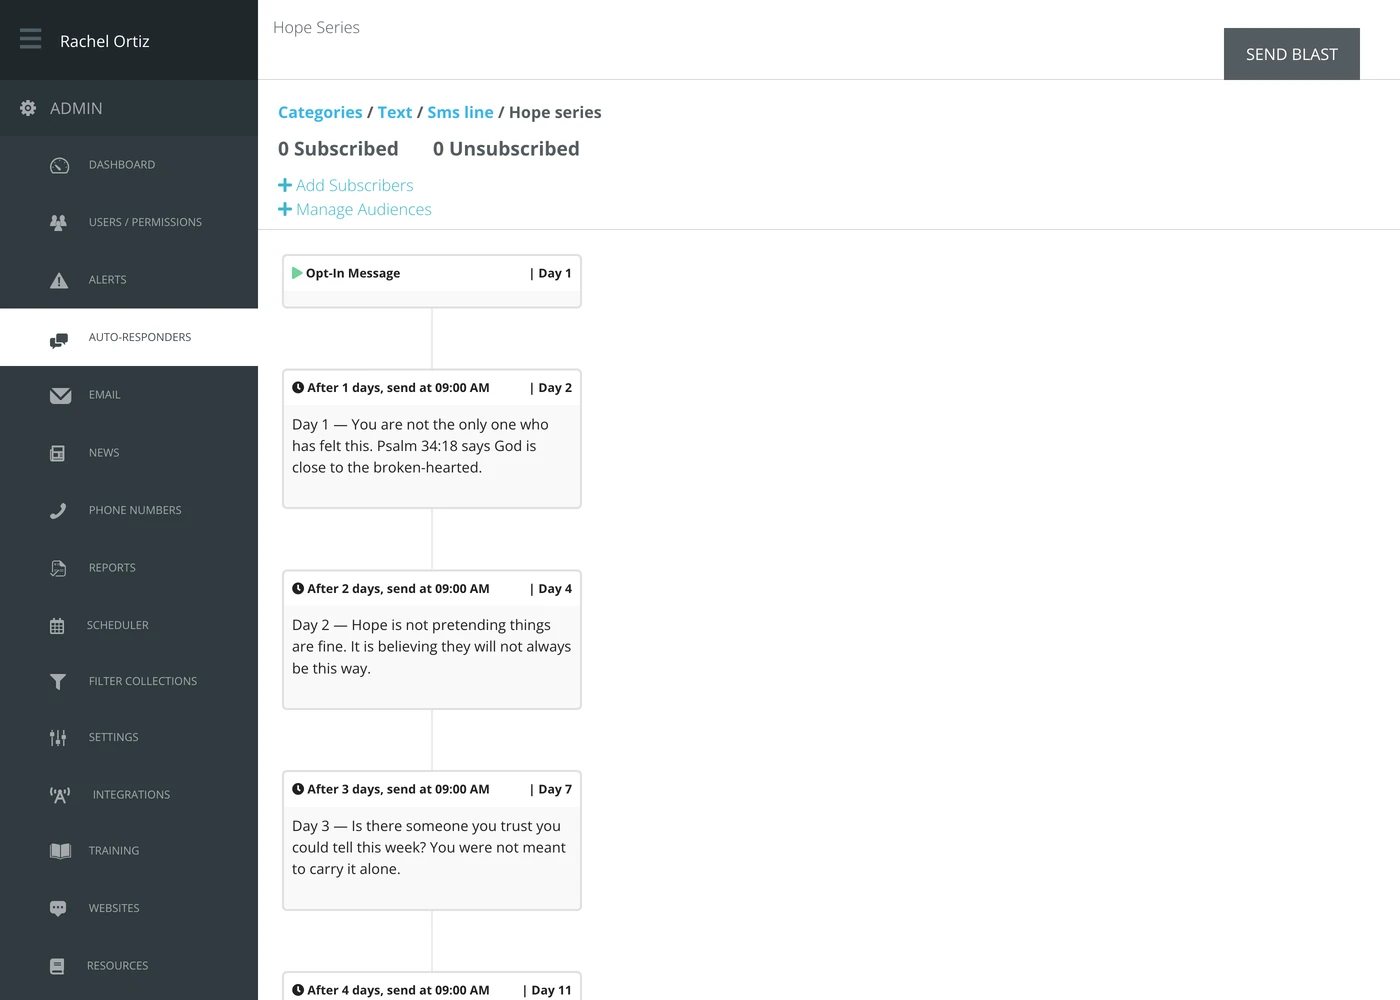
Below that, you'll see the number of people subscribed and unsubscribed to the campaign.
Adding Subscribers
The standard way a subscriber joins a keyword campaign is by responding to a call to action you've put out — at an event, on your website, or in printed marketing (texting the keyword to your phone number).
You can also add one or more phone numbers manually.
Before adding a number to a campaign, make sure you have permission to send it SMS messages — including disclosing that message/data rates may apply, getting written or verbal opt-in agreement, and explaining how their information will be used.
- Click + Add Subscribers.
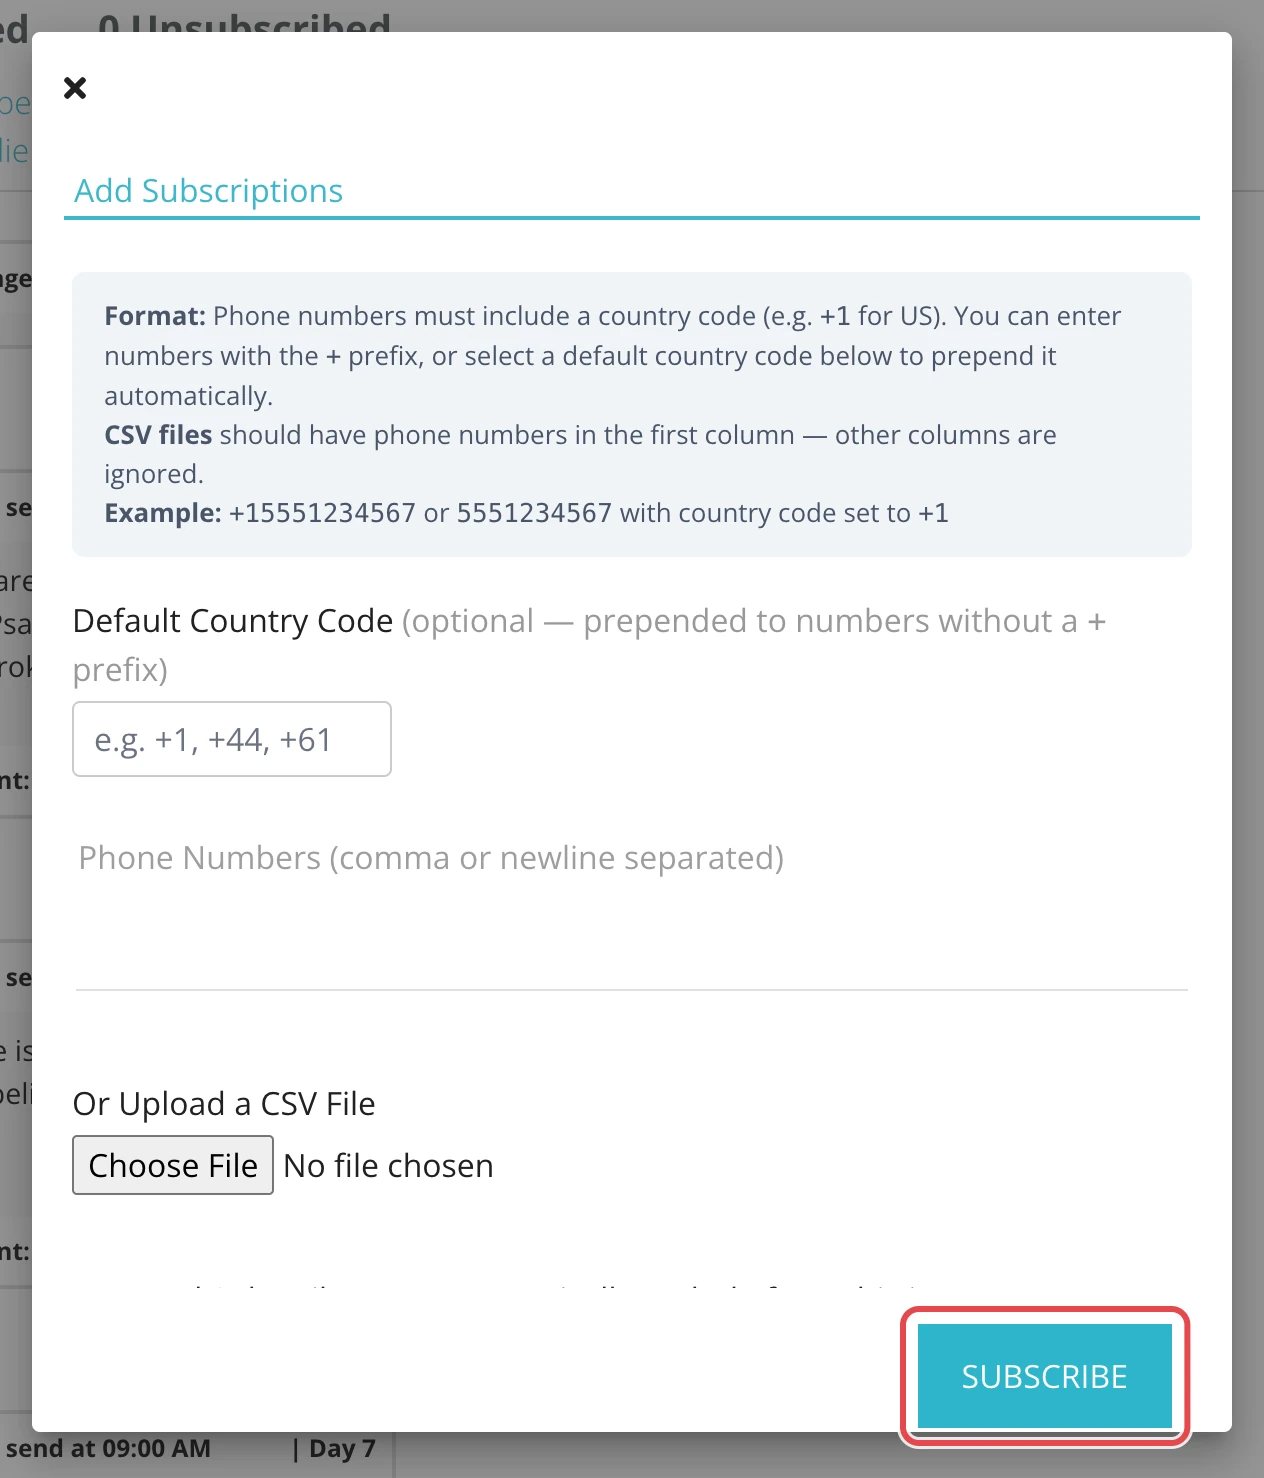
- Type an individual phone number, a group of numbers separated by commas, or upload a CSV file of phone numbers.
- To exclude numbers that might already be in a different keyword campaign, select the keyword you want subscribers excluded from.
- Click Subscribe.
Manage Audiences
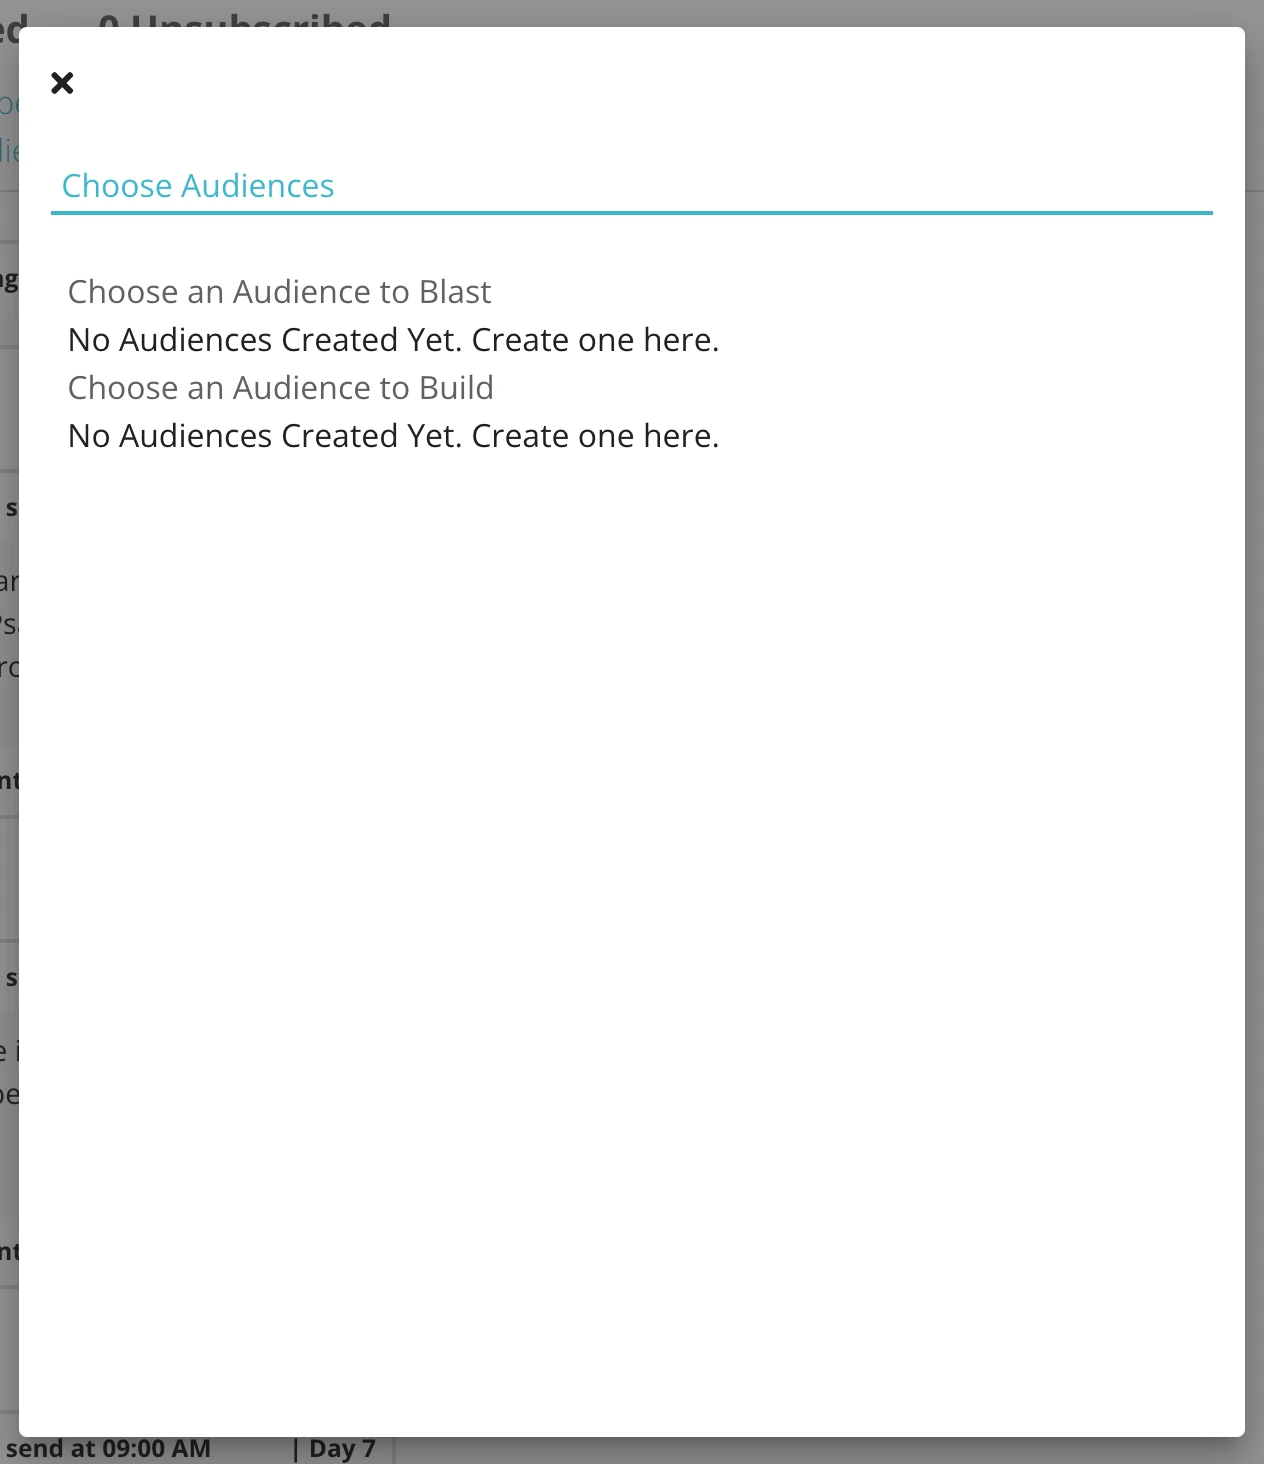
Audience groups are set up in Admin > Auto-Responders > Audiences. See Audiences.
- Once you have audiences set up, click + Manage Audiences to add an audience of subscribers to your auto-responder.
- Select the audience you want to message so it is highlighted, then close the box.
Audience subscribers are not scheduled to receive your message(s) until the auto-responder goes active on the campaign's start date. This gives you time to fix your audience selection before anything sends, in case you picked the wrong one.
Message Setup
You'll start by seeing the opt-in message you designed when you set up the campaign, marked with a green play button. It can't be edited here — to change it, go back and click Edit on the previous page.
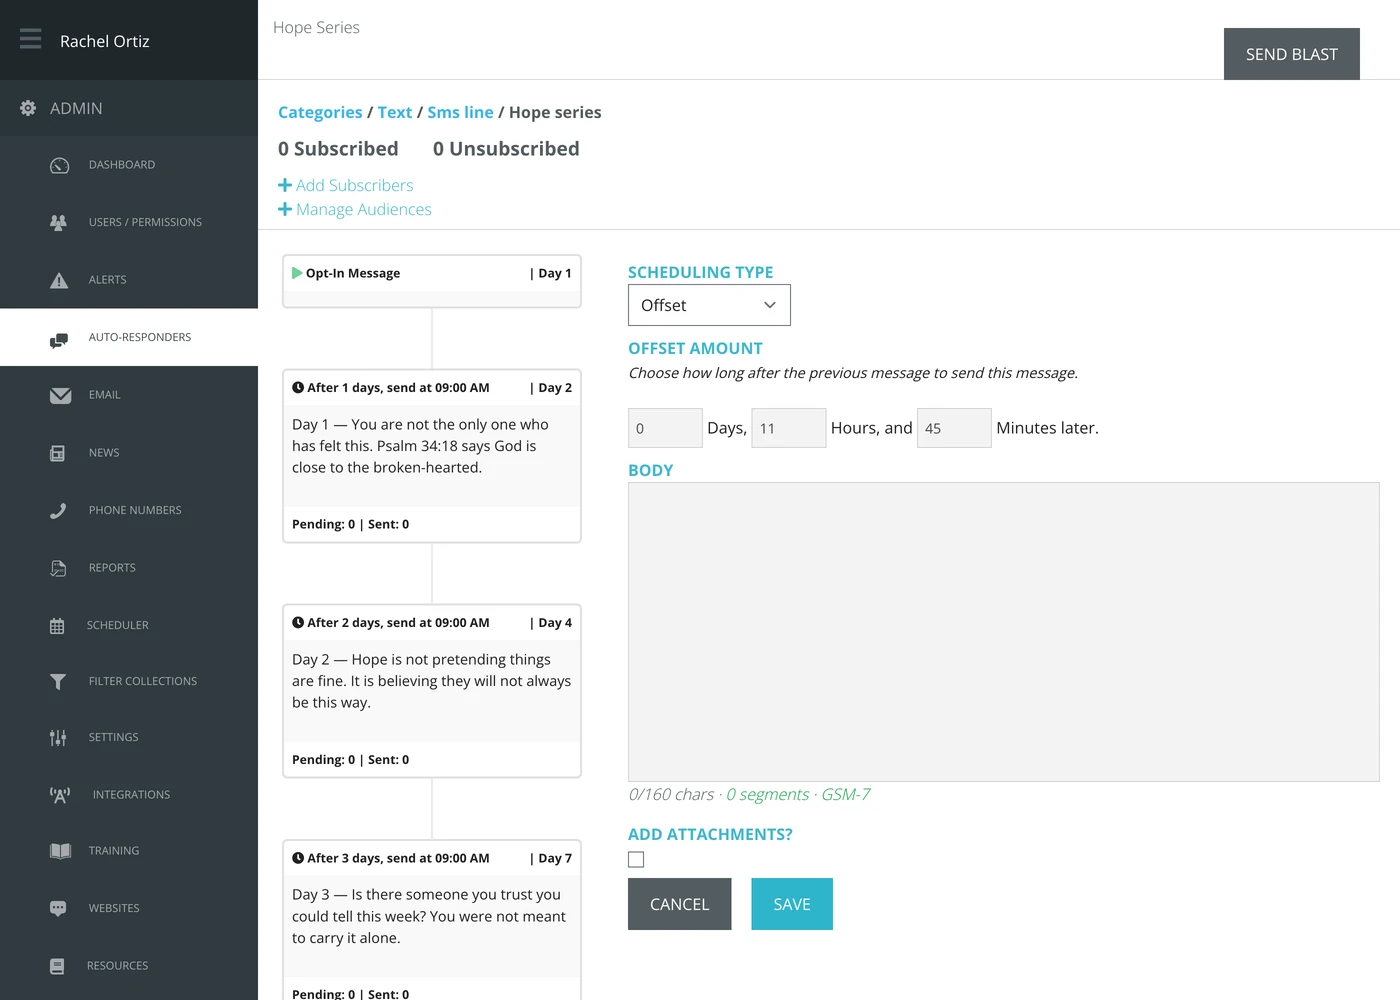
- To add the next message, click + New Message in the box below the previous message. This opens the message form on the right.
Each message has three scheduling type options, covered one at a time below. Echo shows a short description under each option as you select it.
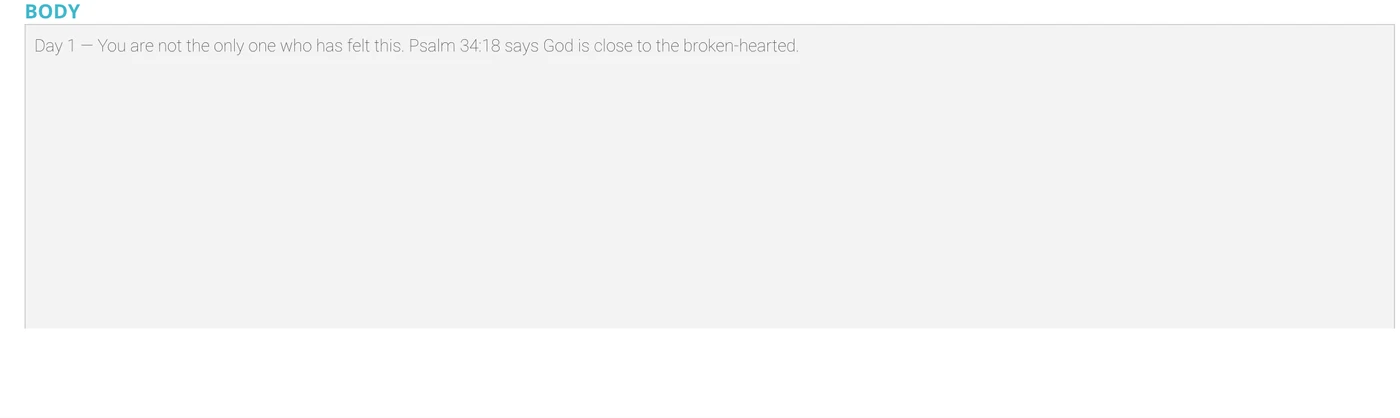
SMS has a character limit of 160 characters per message (other channel types may have their own limits). Underneath each message you'll see its segment count (number of messages) and character count.
Offset
An Offset message sends approximately the days/hours/minutes you set after the previous message.
Example: a second message set to 0 hours, 15 minutes after the previous one. If a subscriber joins the campaign at noon and gets the first message right away, they'll get the second message at approximately 12:15 PM the same day.
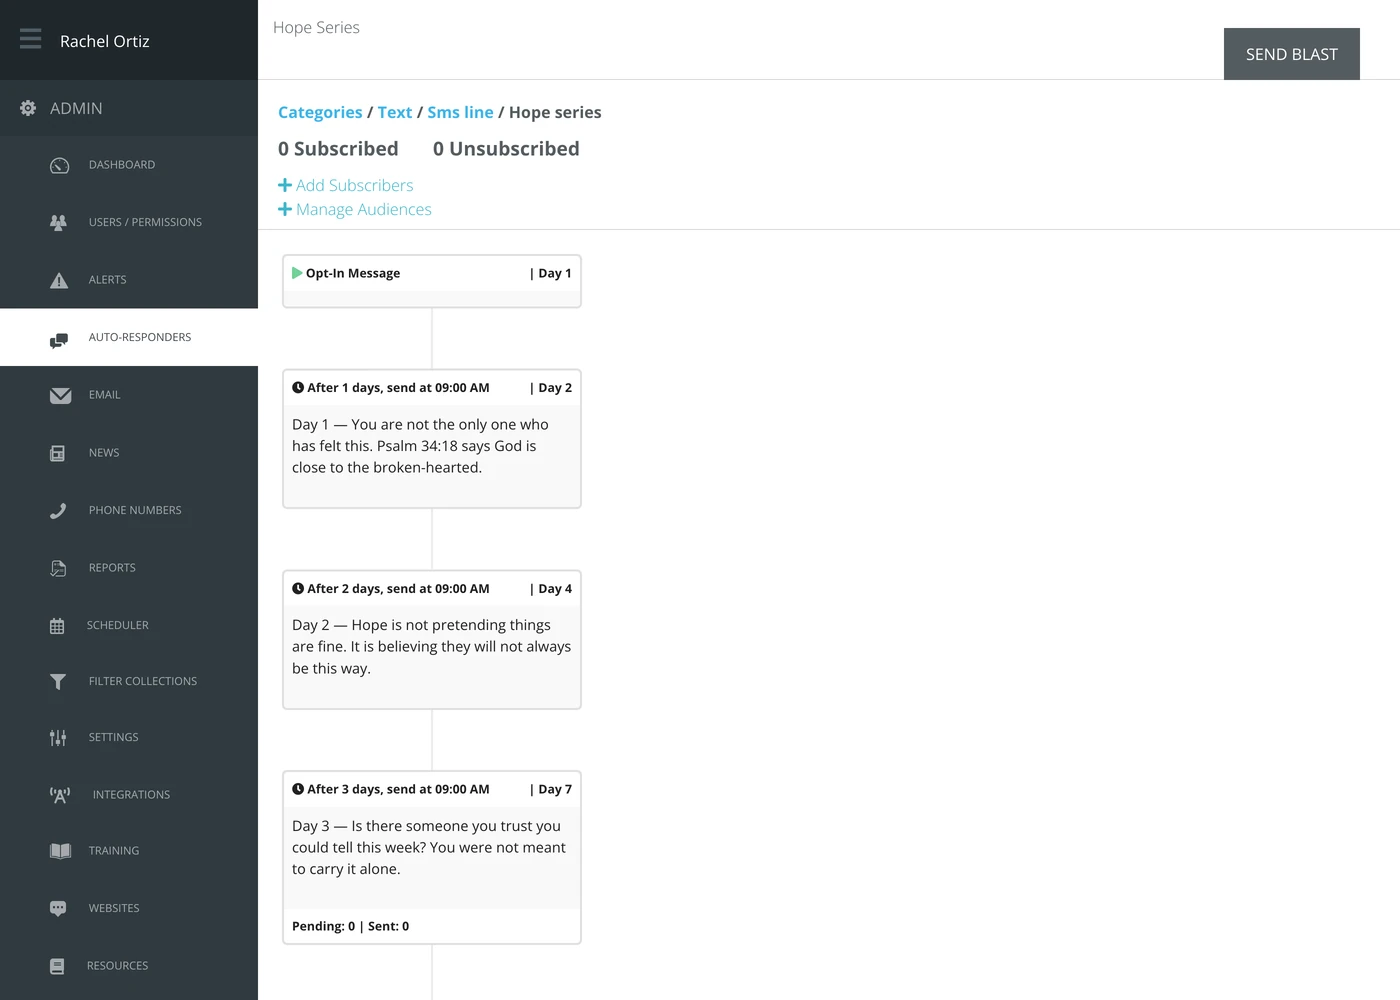
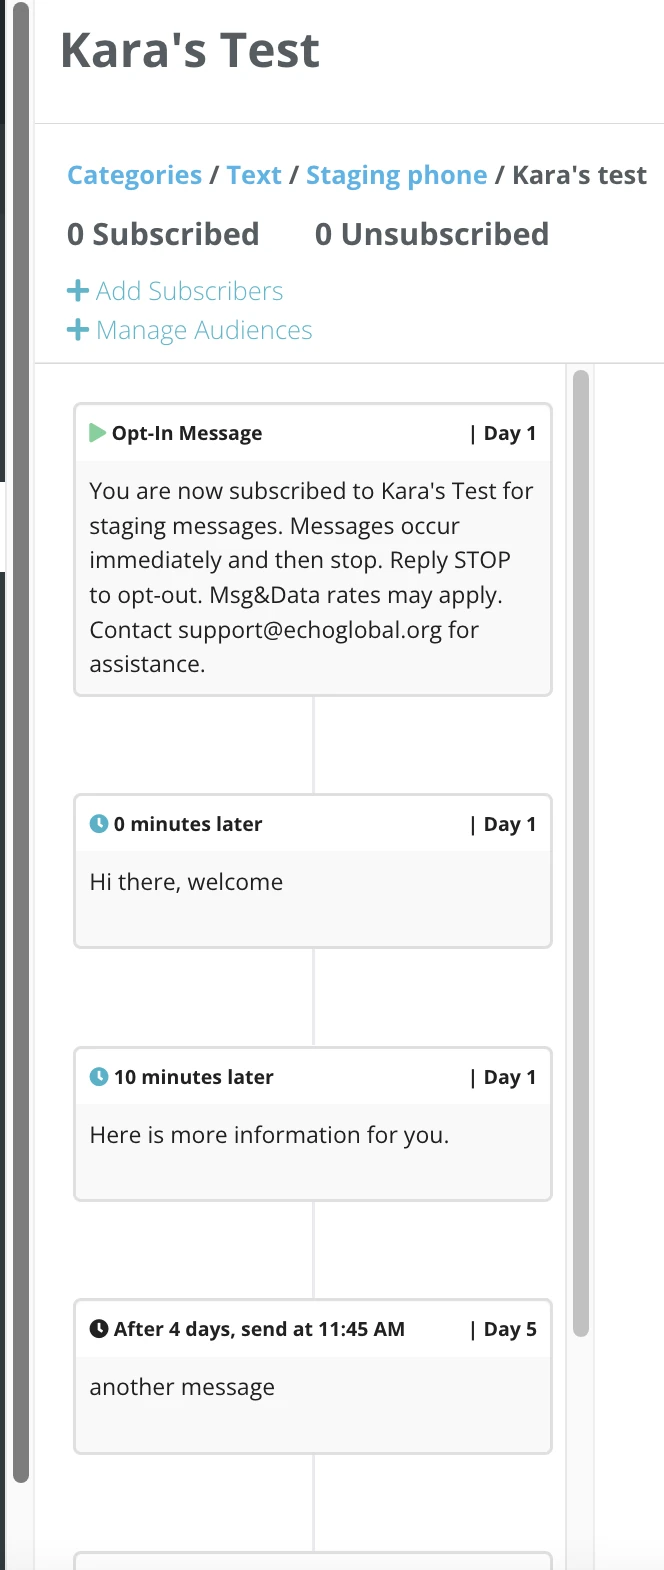
After you click Save, the message appears in order with a clear description of its timing relative to the previous message. Offset messages are marked with a small blue clock icon.
Time of Day
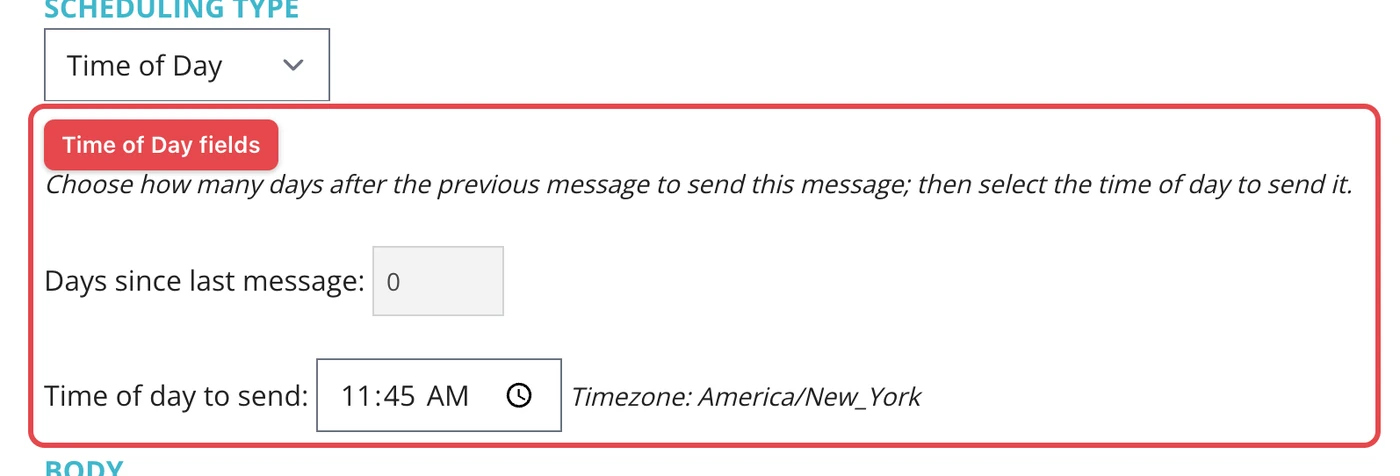
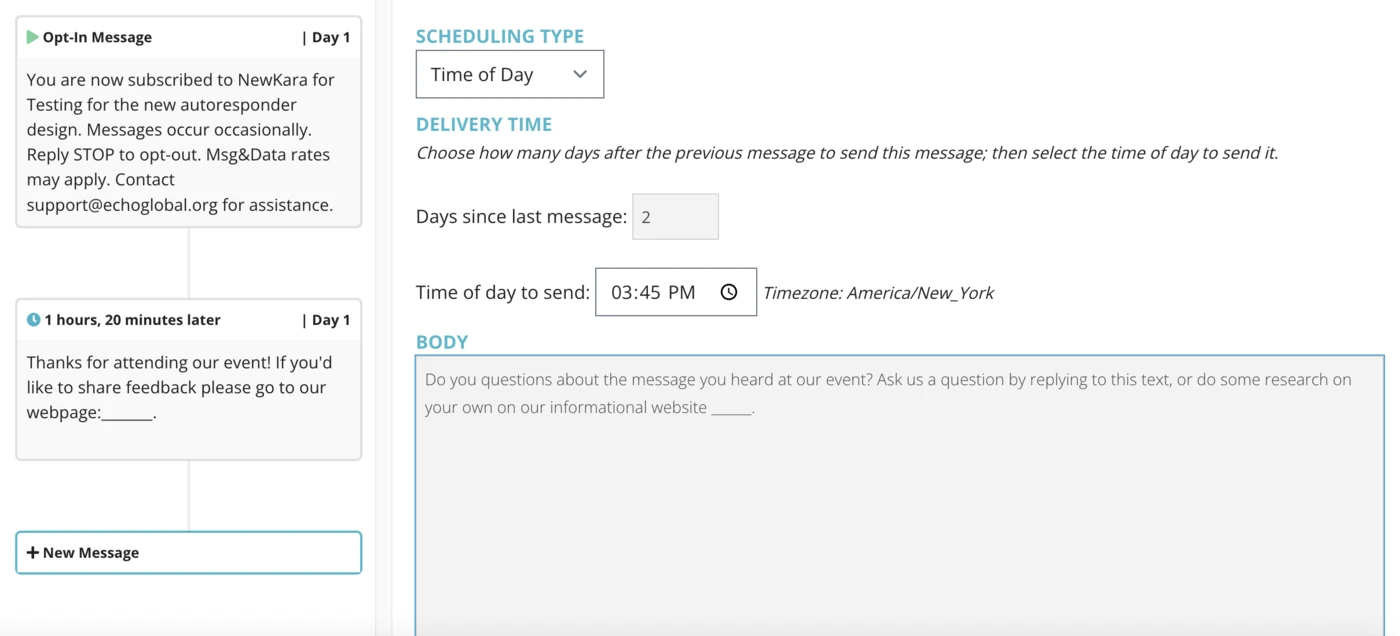
To use this option, click + New Message under the previous message and change the scheduling type to Time of Day.
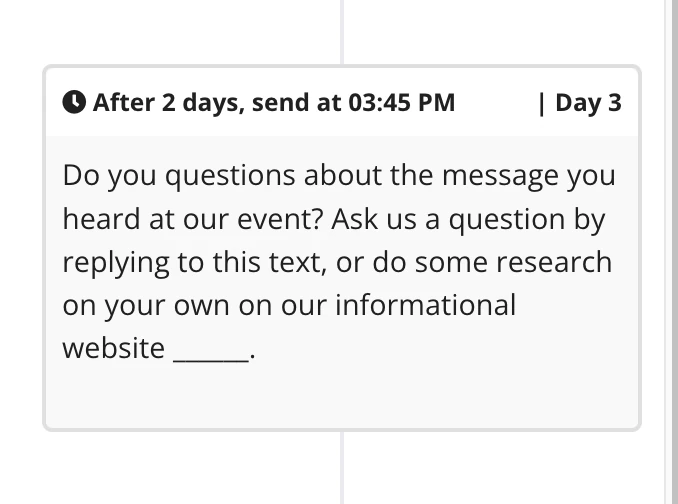
A Time of Day message waits a number of days you specify after the last message, then sends at approximately the time you set.
Example: a third message set to send 2 days after the second message, at 3:45 PM — day 3 of the overall campaign.
After you click Save, the timing information appears at the top of the message. Time of Day messages are marked with a black clock icon.
Date and Time
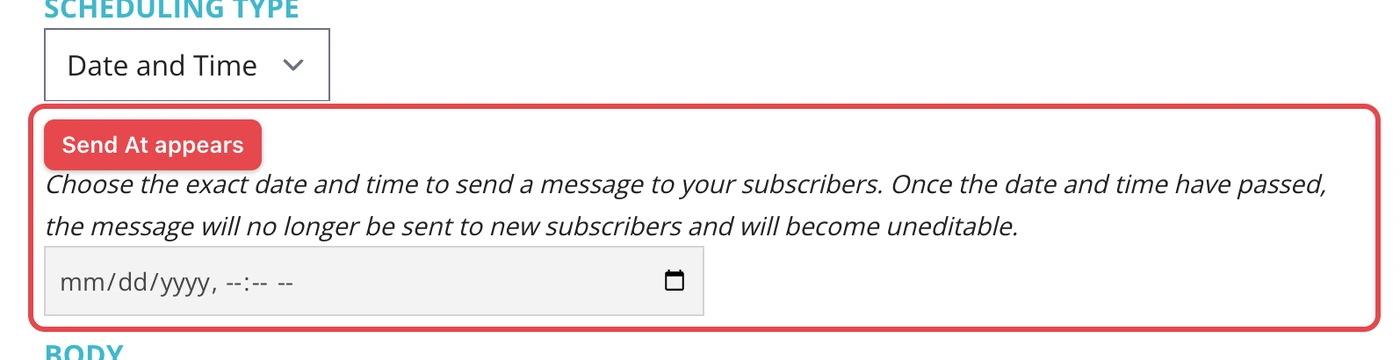
A Date and Time message sends at the exact date and time you specify.
Once that date and time has passed, the message can no longer be edited and will not send to any new subscribers — use this option carefully. If subscribers will be entering the campaign across days or weeks and you want all of them to receive the full message stream, don't use Date and Time unless you're sure every subscriber will reach this message before that date and time.
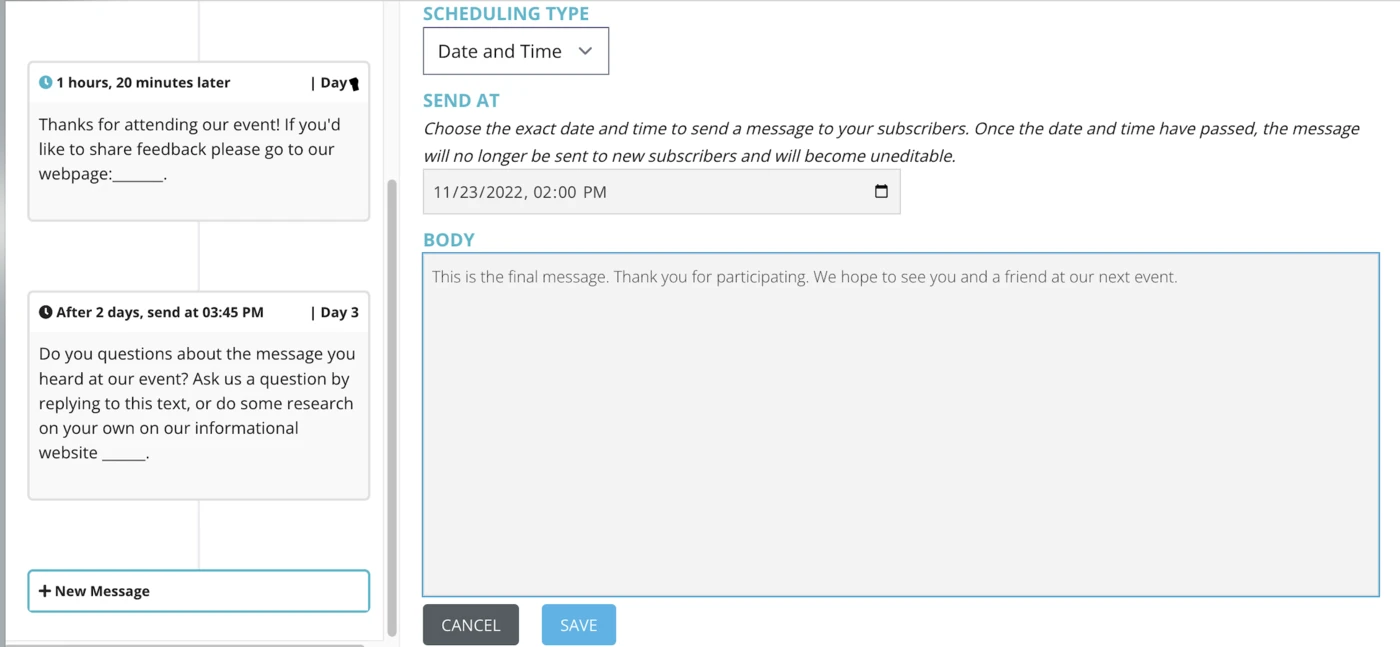
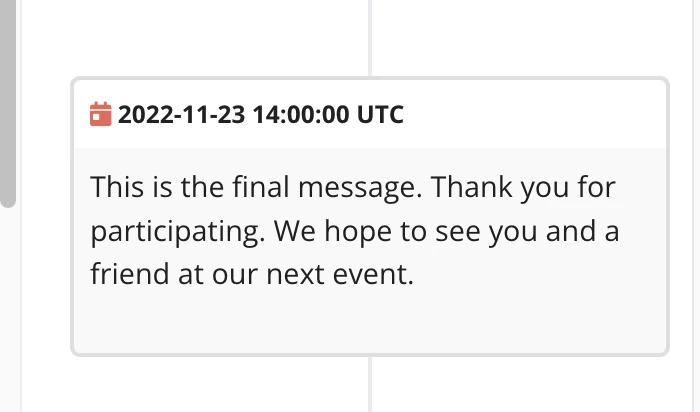
After you click Save, you'll see when the message will go out at the top. Date and Time messages are marked with a red calendar icon.
Adding an Attachment
Once you've created and saved a message, you can add an attachment to it. Attachments come from a library you build first.
- Go to Admin > Attachments (at the bottom of the admin menu).
Each referrer/source/integration type can have different attachment requirements. See the File Attachment Compatibility Guide for details.
- Click + New Attachment.
- Give the attachment a title that will help you and your team identify its content.
- Click Choose File and select a file from your computer.
- Click Upload.
Once the attachment loads, you'll see a preview, the title, and the file size in your attachment library.
With attachments uploaded to your library, you're ready to attach one to your auto-responder.
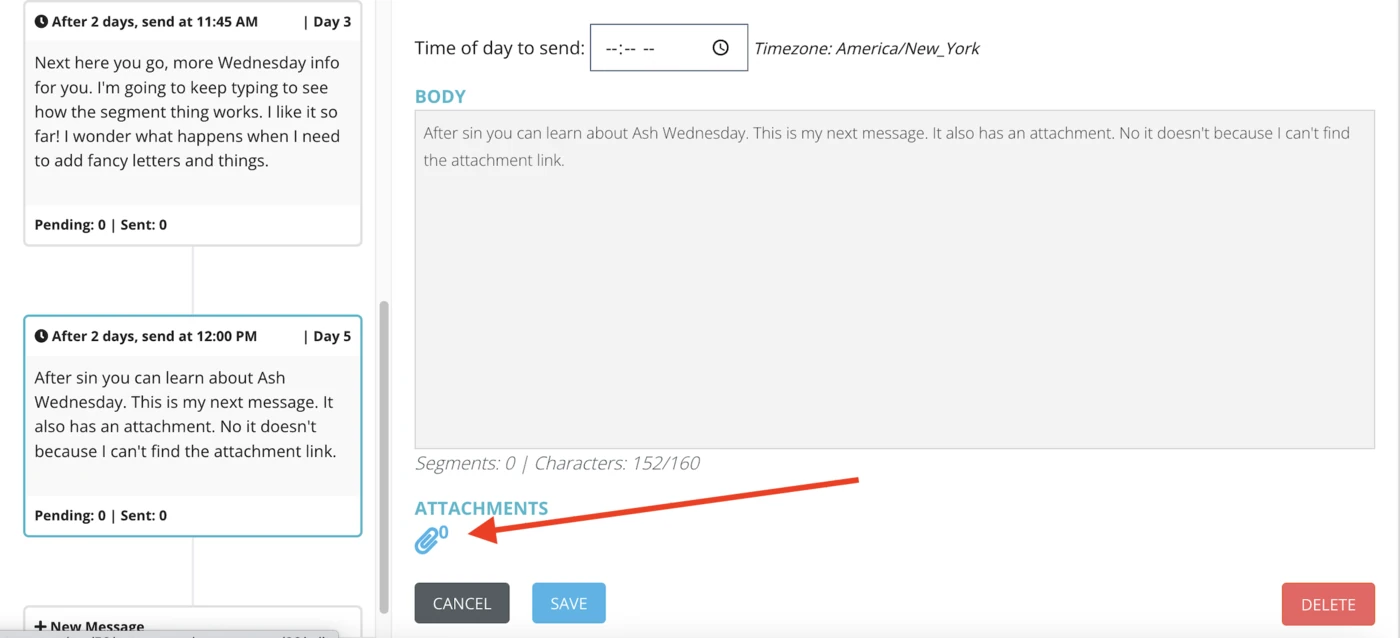
- In your existing auto-responder message, click the paperclip icon in the message edit area to open the attachment library.
If you're creating a new message with an attachment, check the Add Attachments? box at the bottom of the edit box. When you click Save, Echo takes you straight to the attachment library.
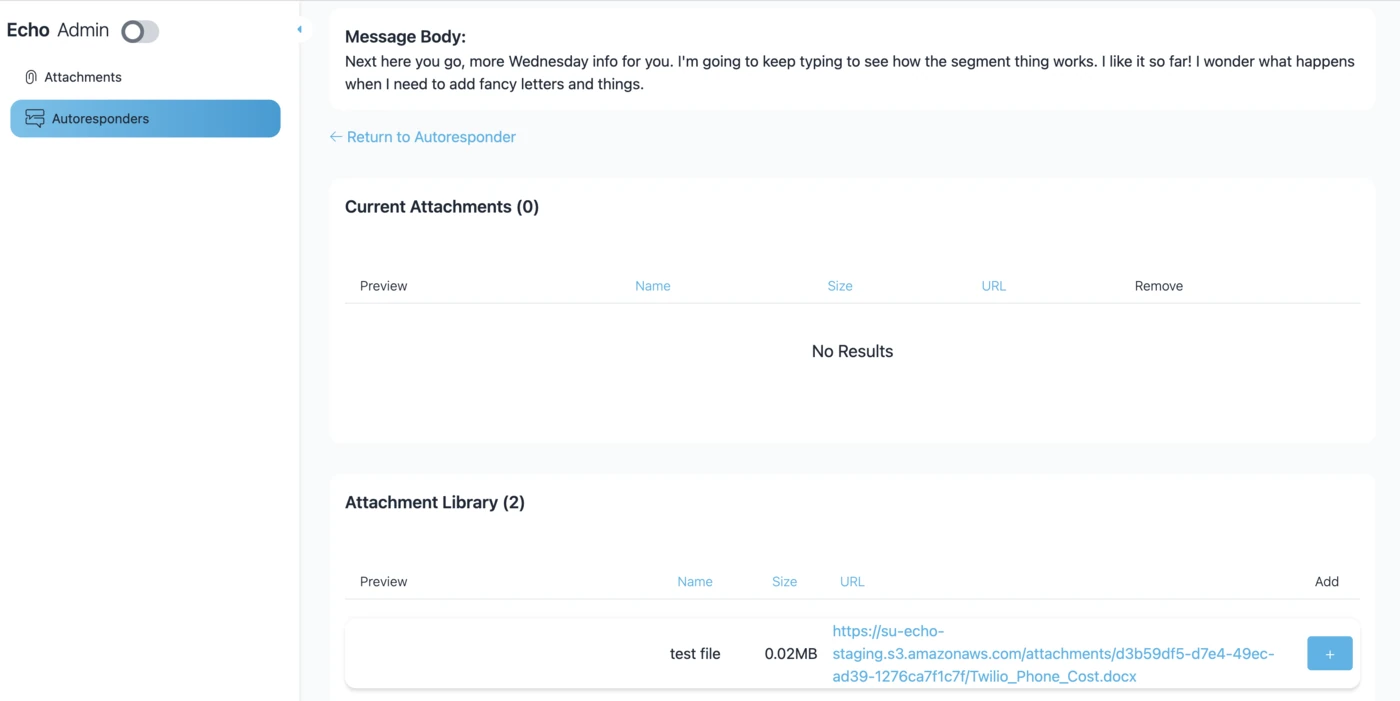
- Click the + button next to the attachment file to add it under Current Attachments.
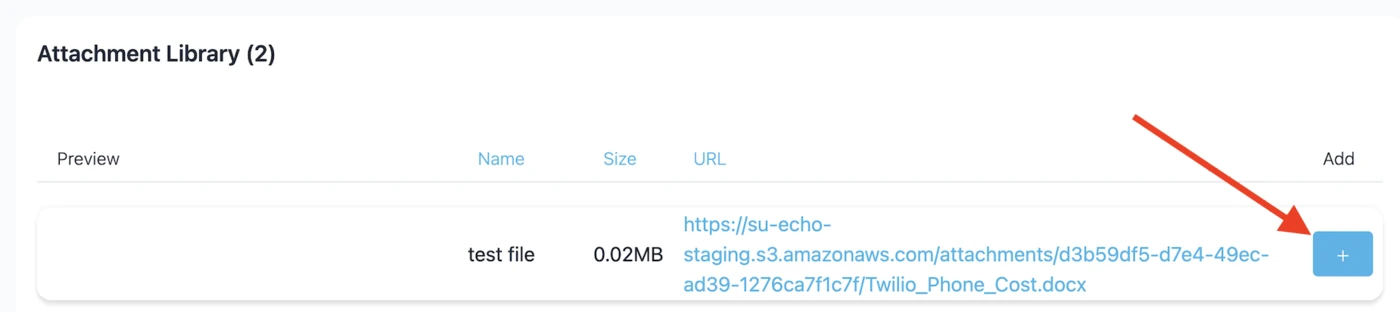
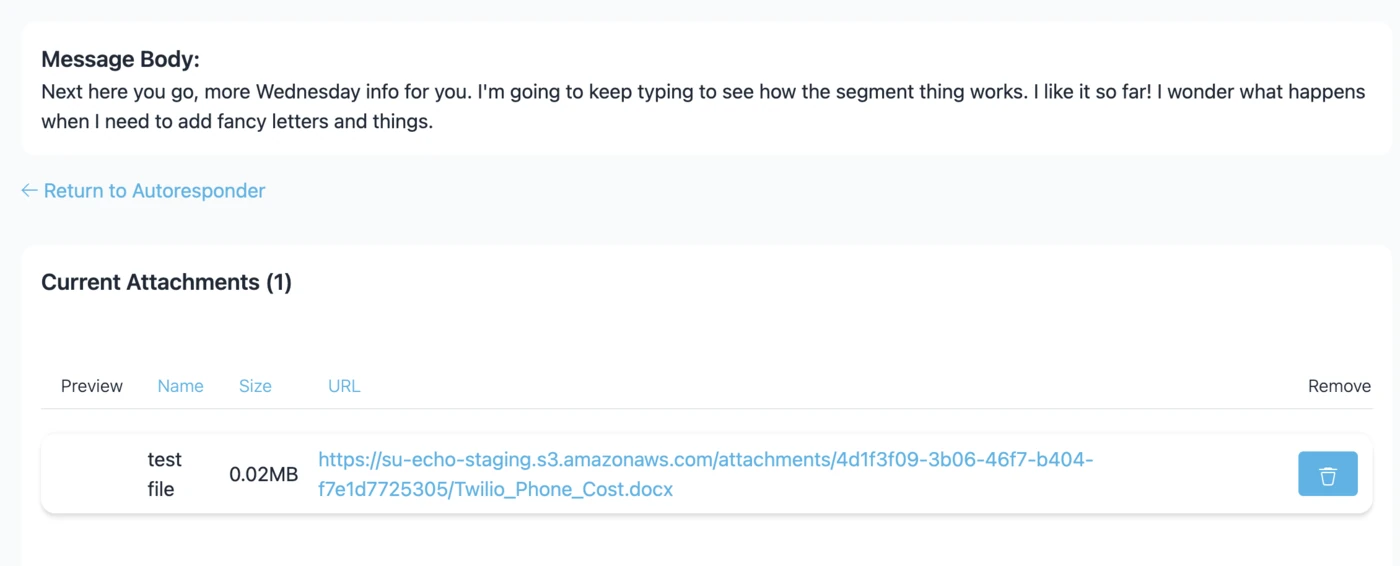
- Click Done to go back to your message stream.
When you open the message again, you'll see a 1 beside the paperclip icon in the edit area.
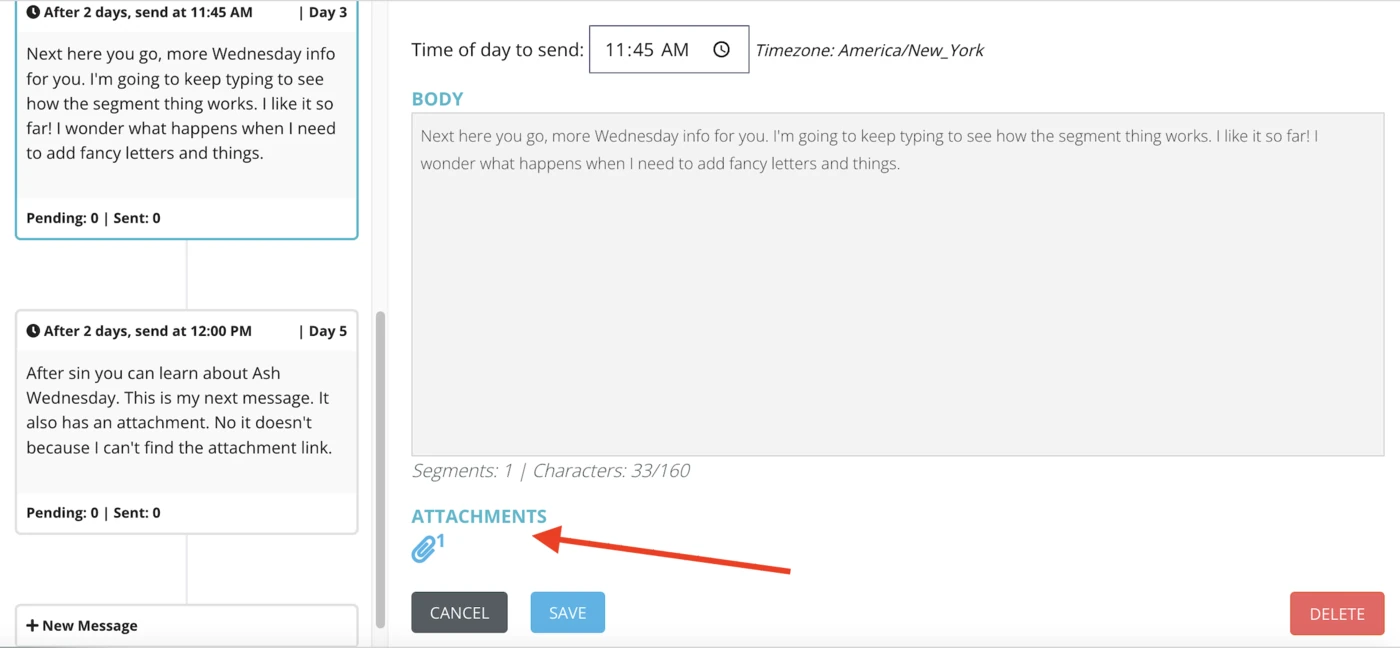
To send MMS from a short code, MMS must be enabled on your number. Contact support@echoglobal.org to enable MMS on your short code.
Editing your Message Stream
Select an existing message to open its edit options on the right.
| Action | What it does |
|---|---|
| Editing message position | Use the directional arrow to move the message up or down in the stream on the left. |
| Editing scheduling type | Change the scheduling type and send-at information. Subscribers who haven't reached the message yet get it at the new time; subscribers who already received it will not get it again after the change. |
| Editing message body | Edit the text at any time. Subscribers who already received that message keep the old text; new subscribers get the updated content. |
Avoid changing message positioning once subscribers are already flowing through your message stream. This can cause some subscribers to get duplicate messages, or miss a message they should have gotten.
You cannot change a message that's set to an absolute date and time once that time is in the past.
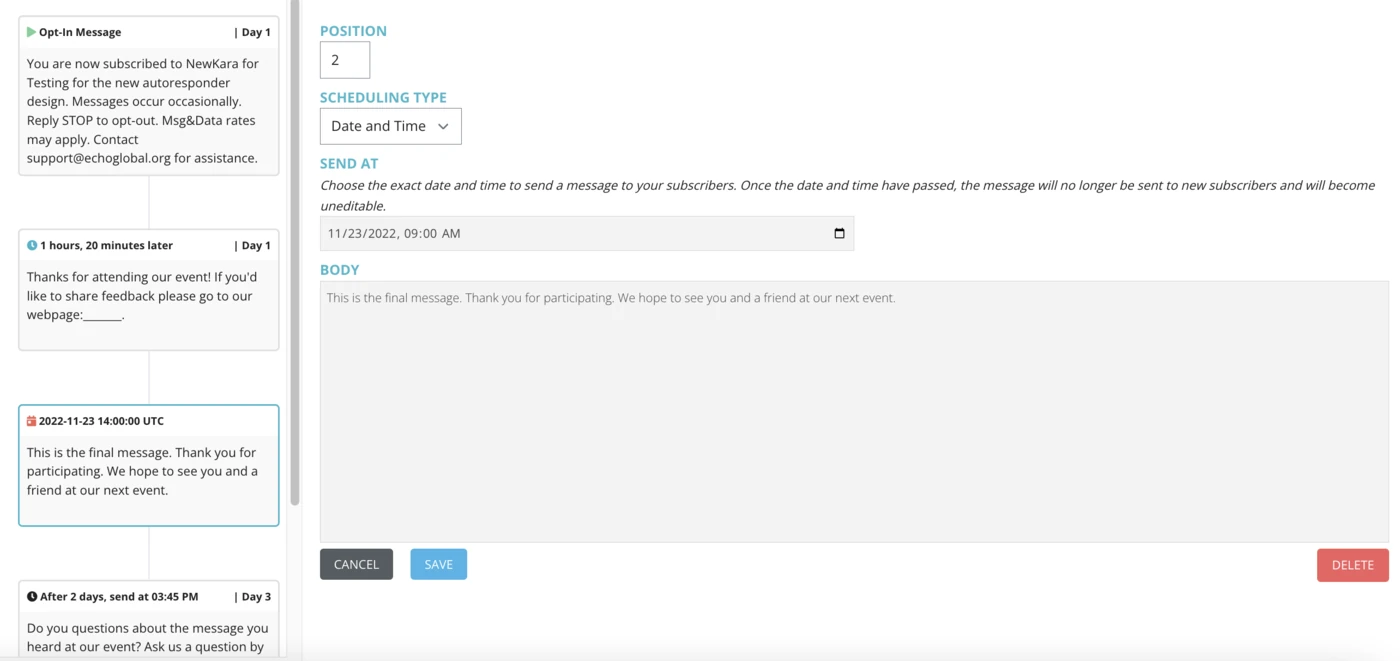
| Button | What it does |
|---|---|
| Save | Saves your changes to the message. |
| Delete | Deletes the entire message from the message stream. |
| Cancel | Closes the editing screen without saving any updates. |
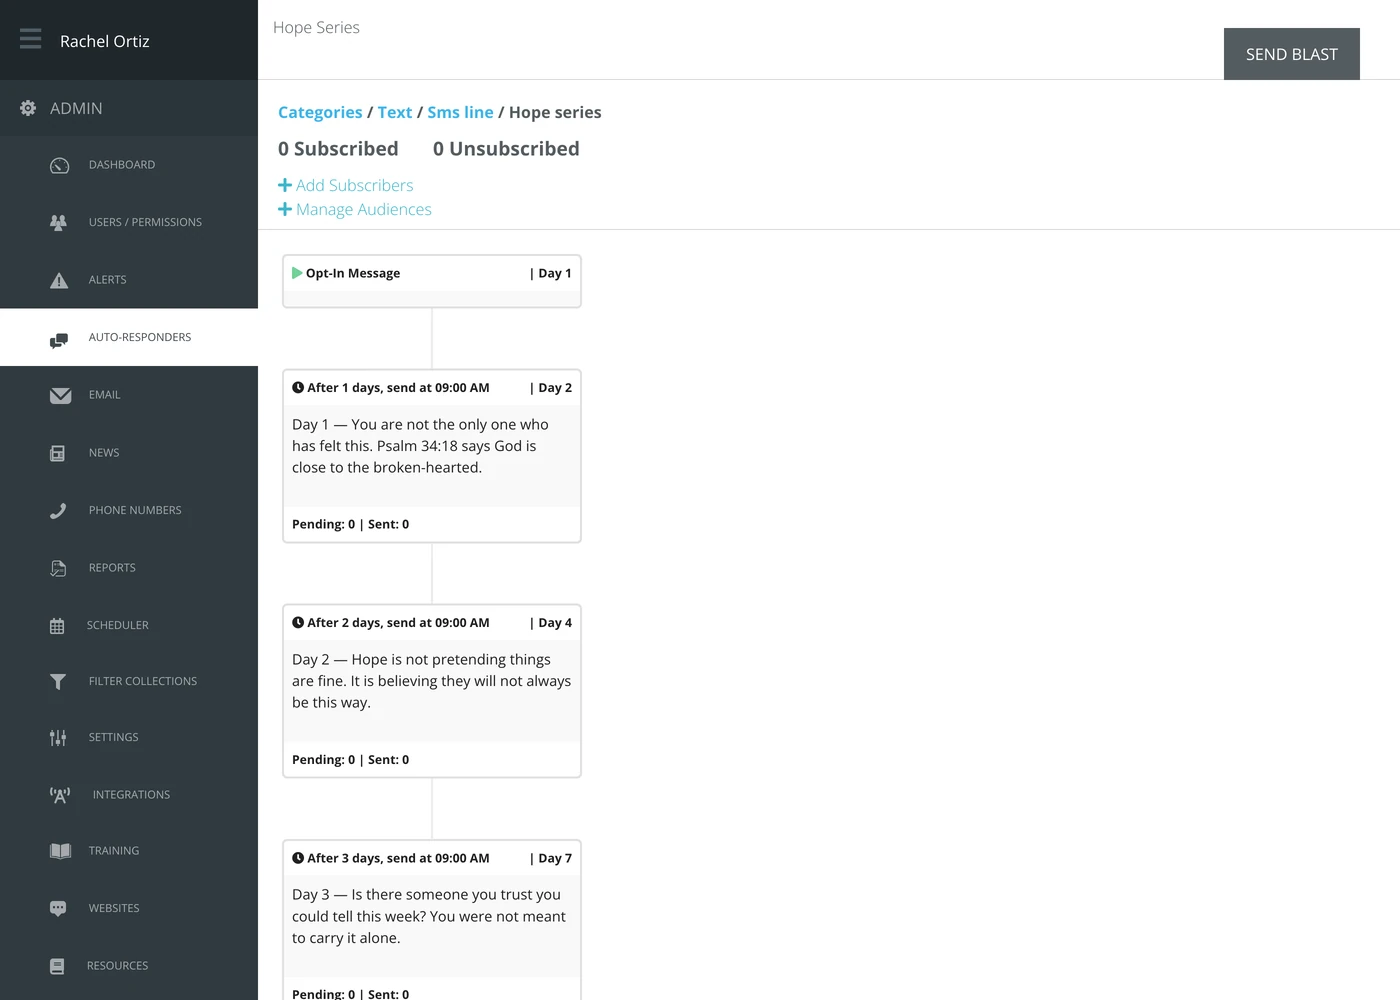
Once your auto-responder message stream is complete, you'll see every message in order from start to finish, with its type, when it will send, and how long the full stream lasts for a subscriber.
Send a Blast
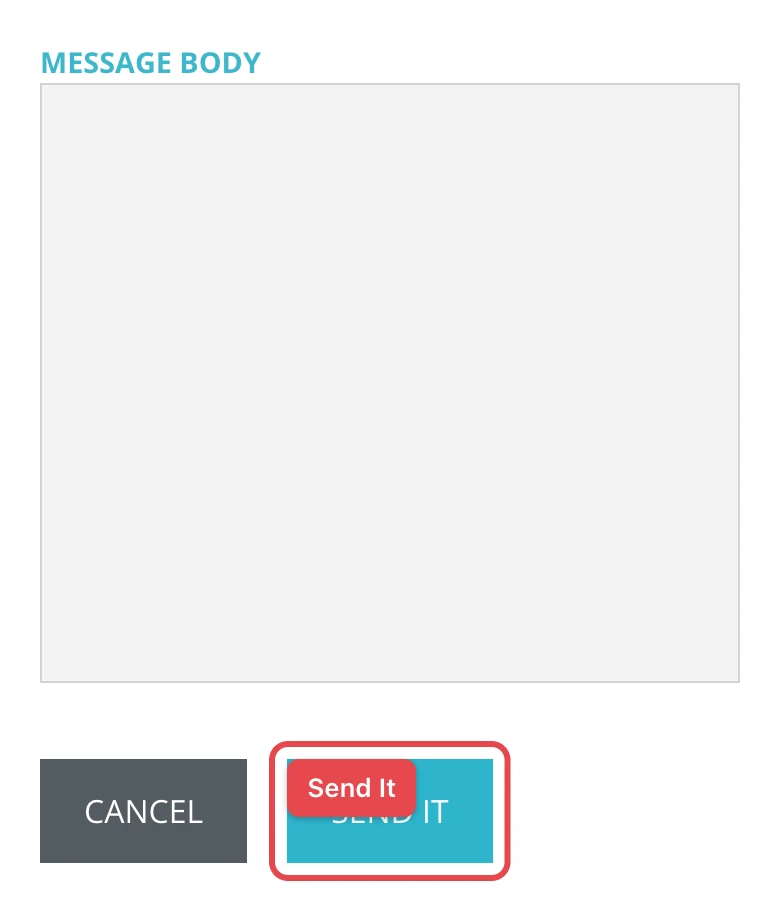
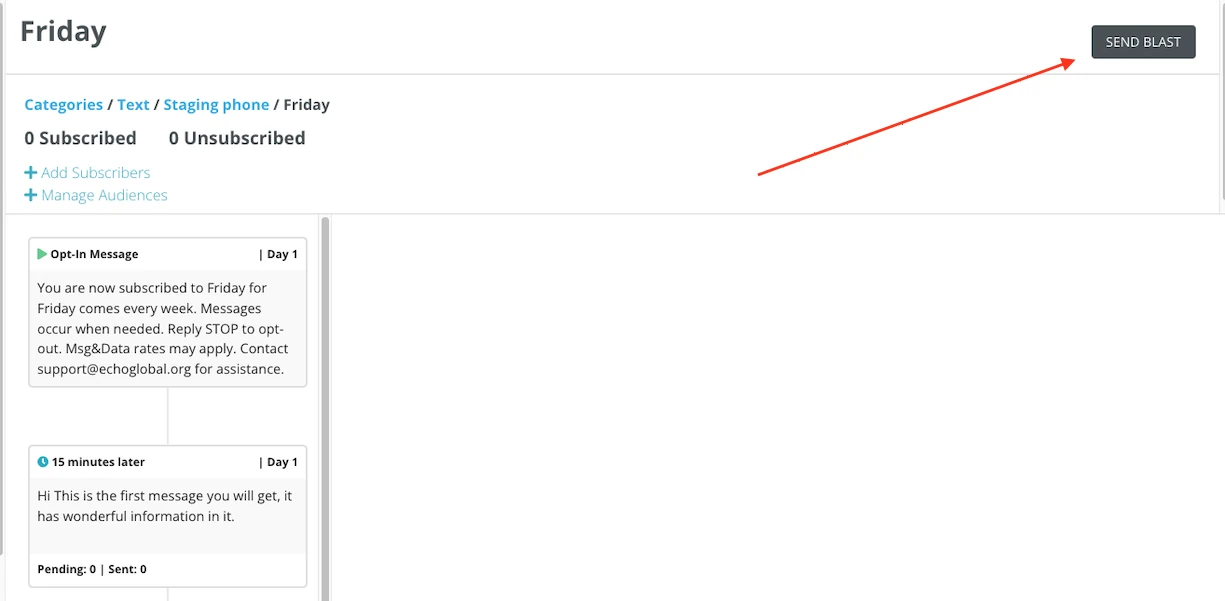
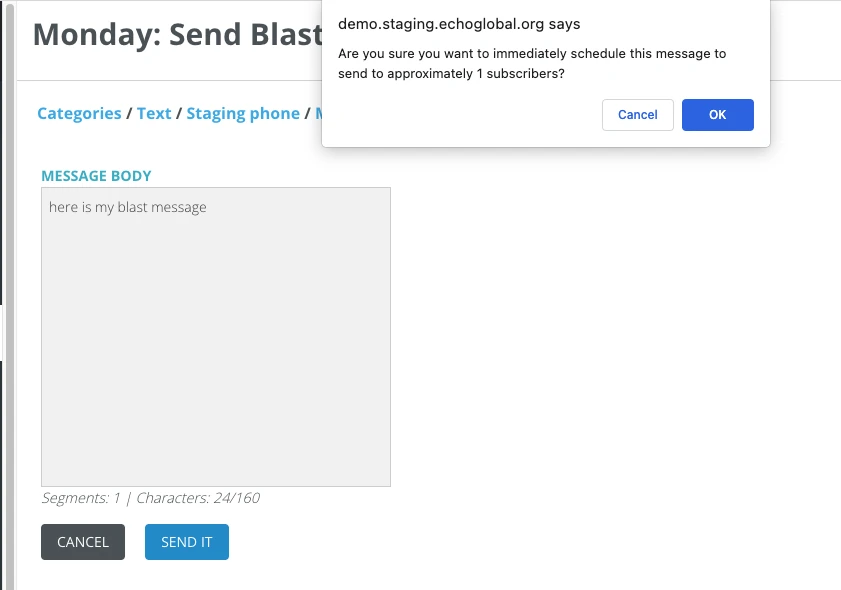
To send an immediate message to your subscriber list outside the auto-responder stream, click Send Blast in the upper right corner of your screen.
- Add your content in the message box.
- Click Send It.
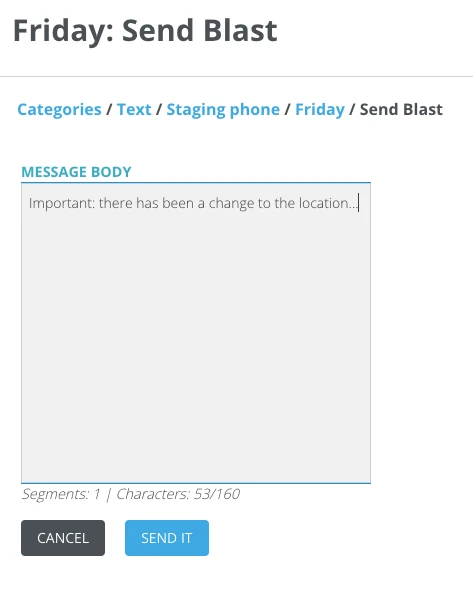
You'll get a confirmation message once you click Send It. The blast reaches everyone subscribed to the campaign within 10–15 minutes, regardless of where they are in the auto-responder stream — they receive it right away.
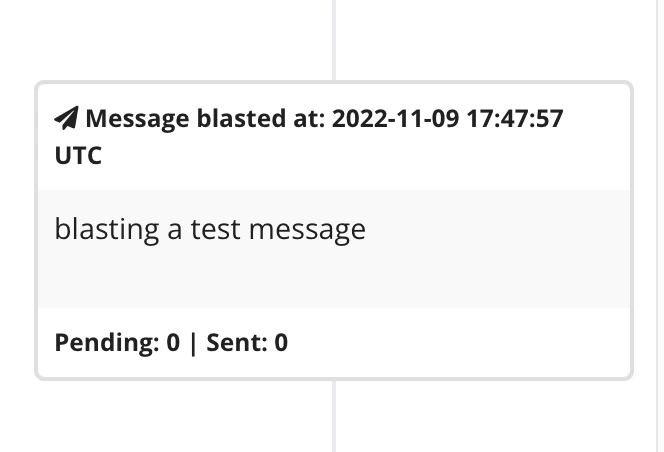
A blasted message is added to the bottom of the auto-responder stream, marked with a black arrow and "Message blasted" with the date and time.
Archive an Inactive Campaign
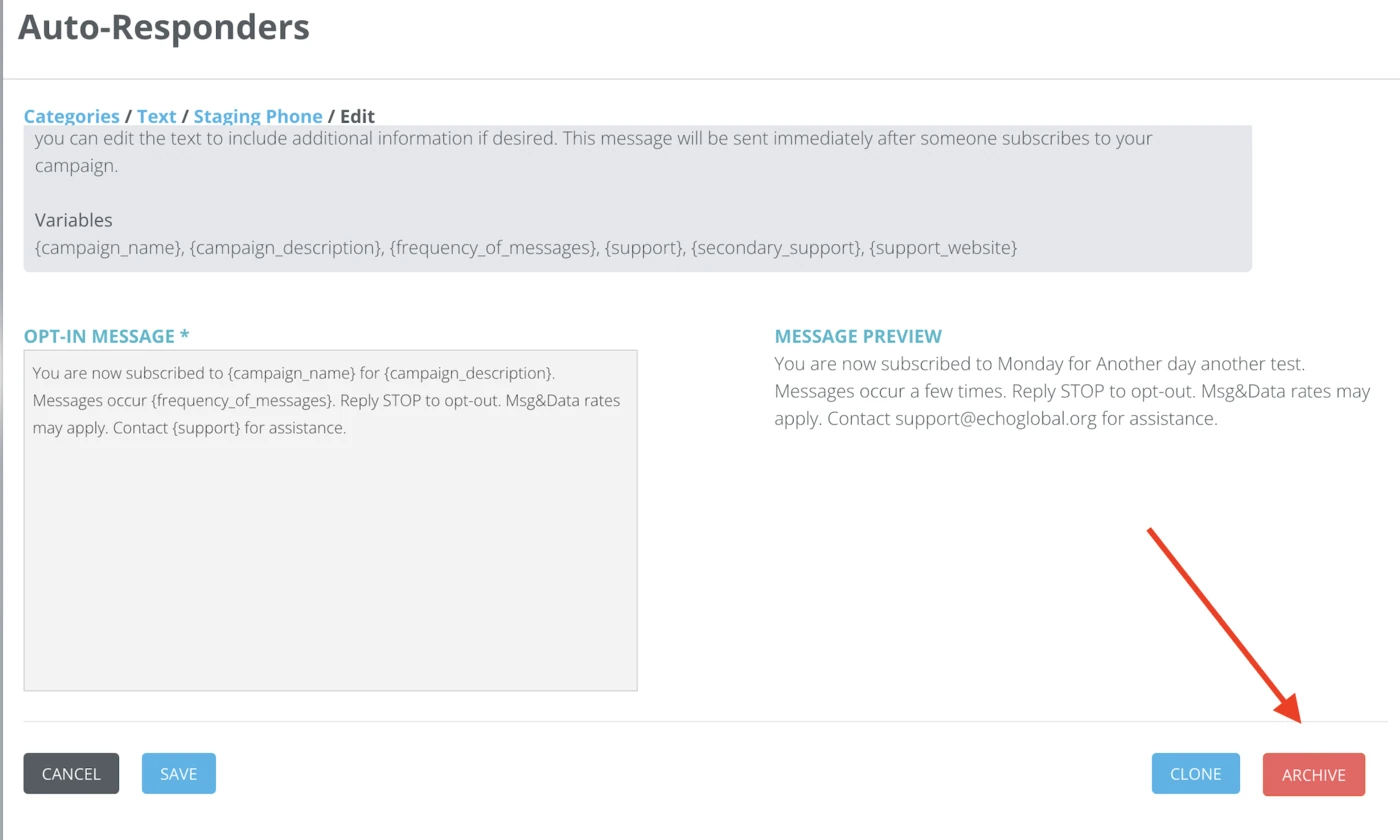
Use Archive to remove a campaign from your active list and from the subscription options your users can be added to.
- Click Edit on the campaign, as if you were editing its information.
- Scroll to the bottom of the page.
- Click Archive in the lower right corner.
To bring an archived campaign back, click View All on the campaign list, click Edit on the archived campaign, and click Unarchive. It gets its old keyword back only if no other campaign on that source is using it.
Archived campaigns still show up in auto-responder reports if they were active during the report's date range.
Clone an Old Campaign
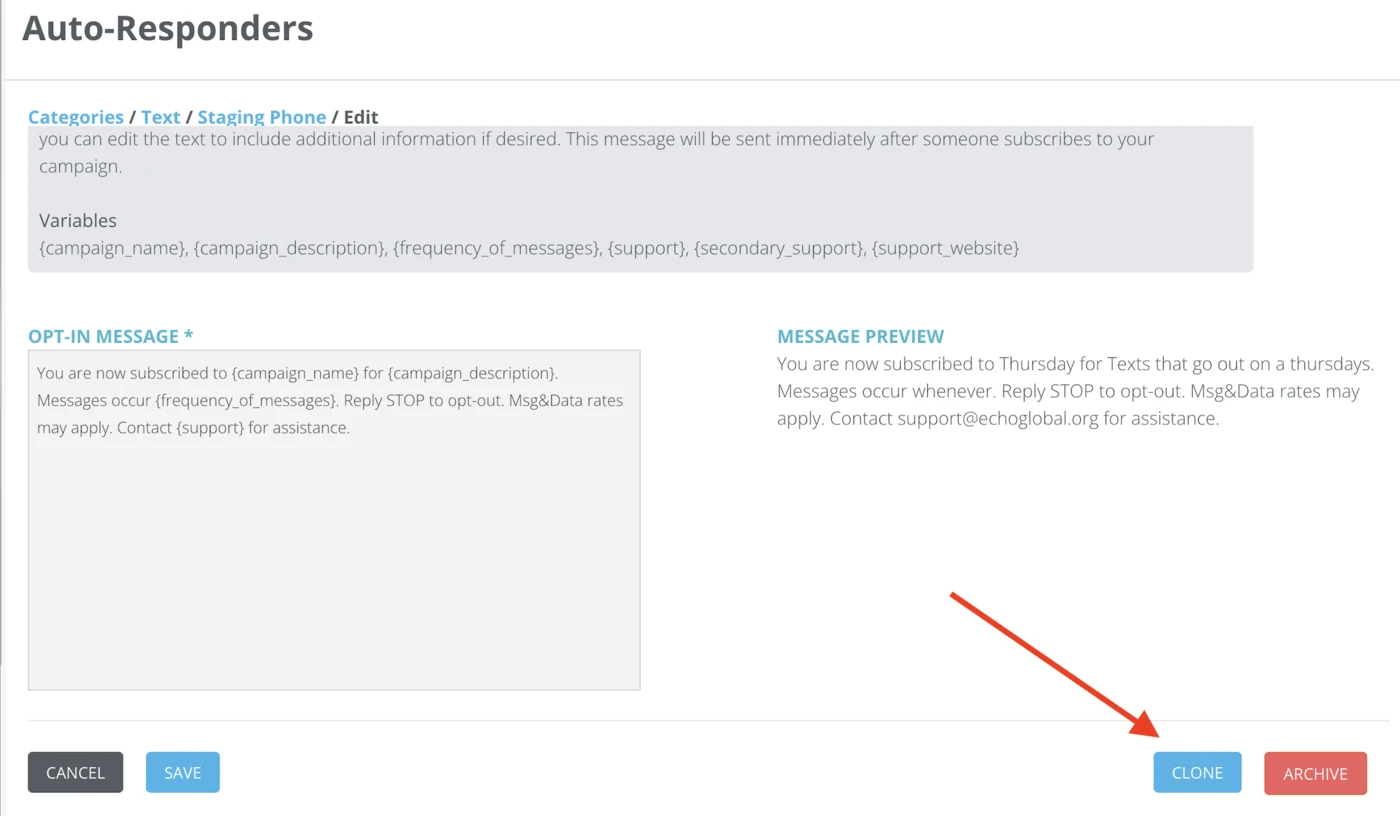
To set up a new campaign similar to an old one, clone it and edit the copy with new content.
- From the Edit page of the old campaign, click Clone.
- Adjust the campaign information for your new campaign and save.
Your new campaign appears in the list of keyword campaigns. Click Messages to edit its messages.
Tips
There is no limit on the number of keywords you can use.
You cannot use the same keyword for simultaneous auto-responders on a single referrer/source. You can, however, use the same keyword on different referrers.
You can reuse a keyword from a previous campaign if you first change the keyword on the old campaign. It's recommended to use a replacement keyword that reminds you what that campaign was, in case you need to pull reports from it later.