Overview
Have you ever wanted more control over the source selections in Reports and CRM? Then you're going to love this new Echo feature called Source Groups. Source Groups allows admins to create custom grouping of their sources that give their users the clarity of access they need to pull reports and clients quickly and confidently.
Setting up a Source Group
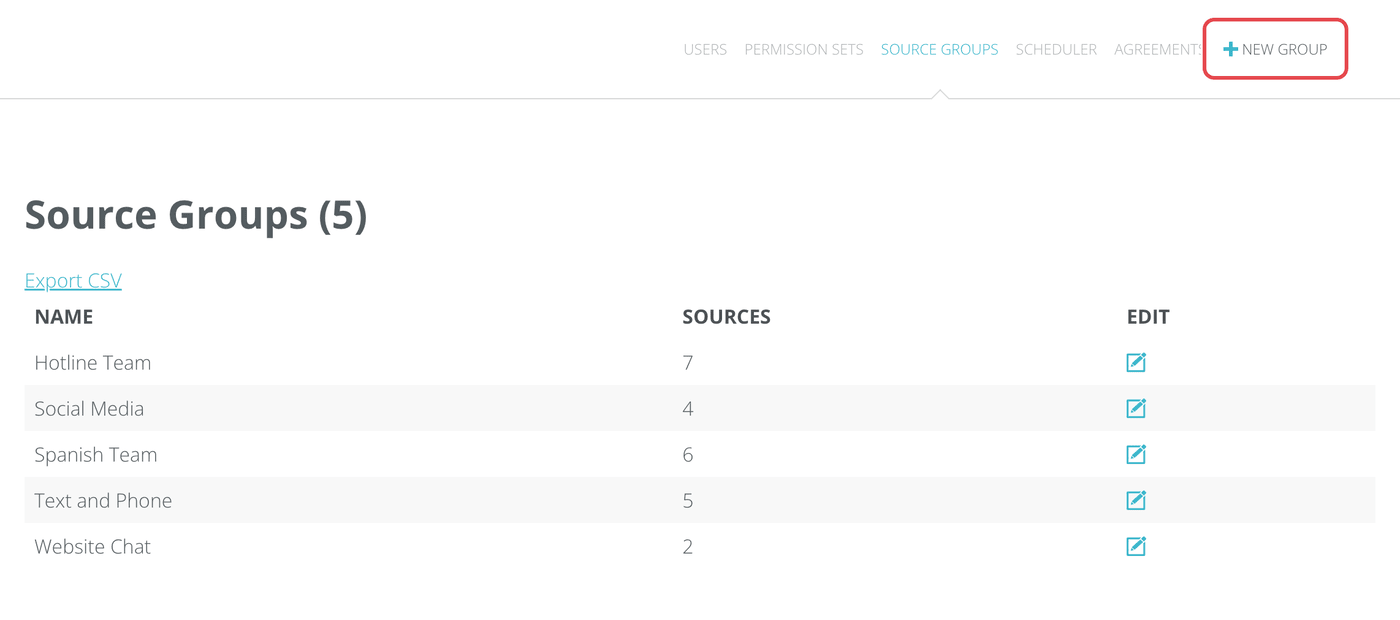
When you go to Admin-Users/Permissions, click on "Source Groups
Once you have created Source Groups, you will see them in a list here, and will be able to click on them to edit. To add new source group, click on + New Group
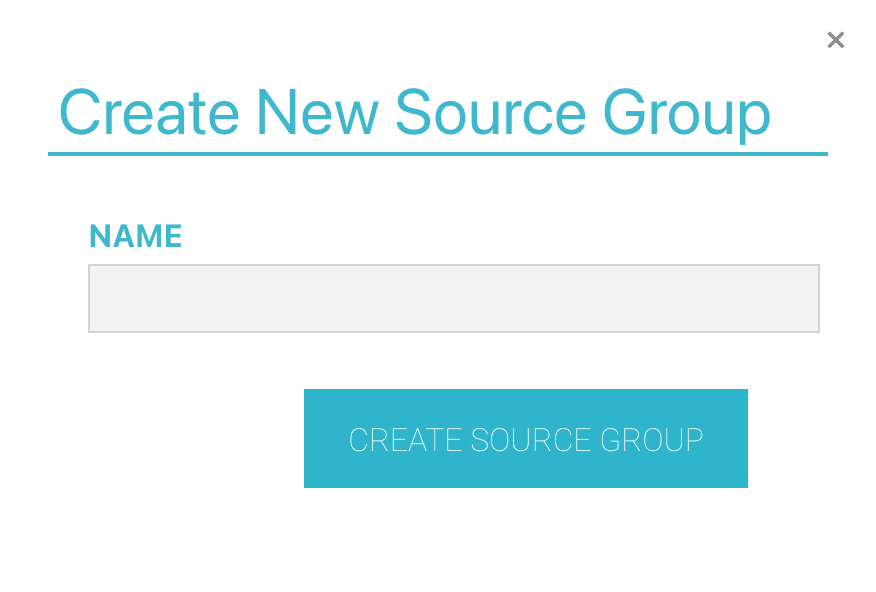
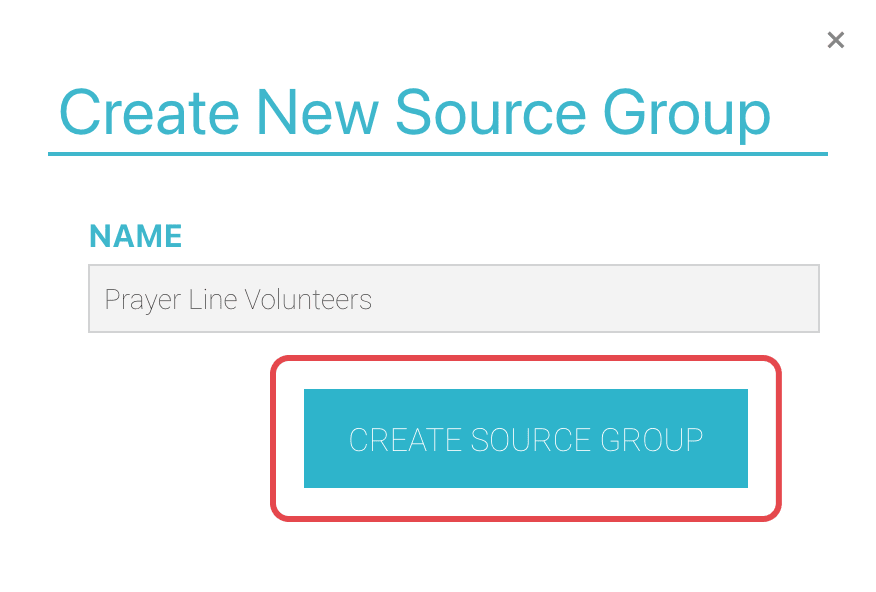
Provide you Source Group a name (Make sure it is identifiable for the people who will be using it) and click on "create source group".
Now that you've created the Source Group, it's time to add the sources you want to include.
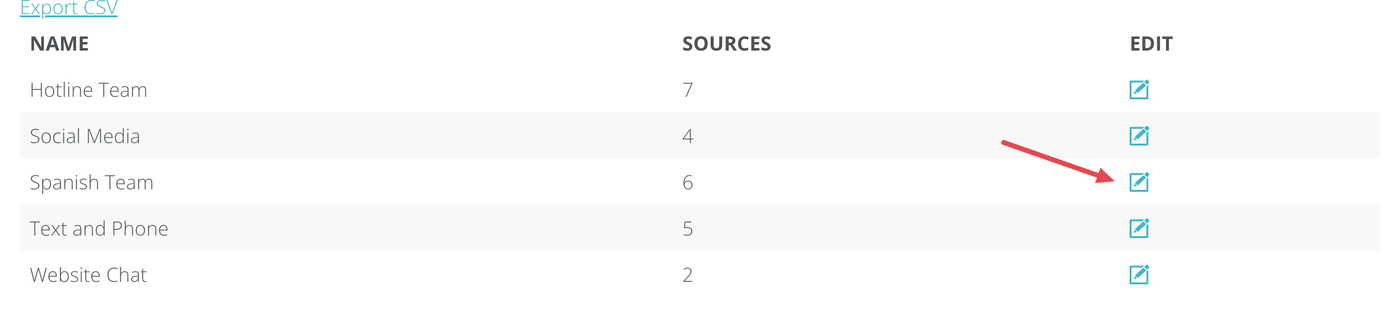
From the Source Group list, select the edit icon next to the Source Group name you want to edit.
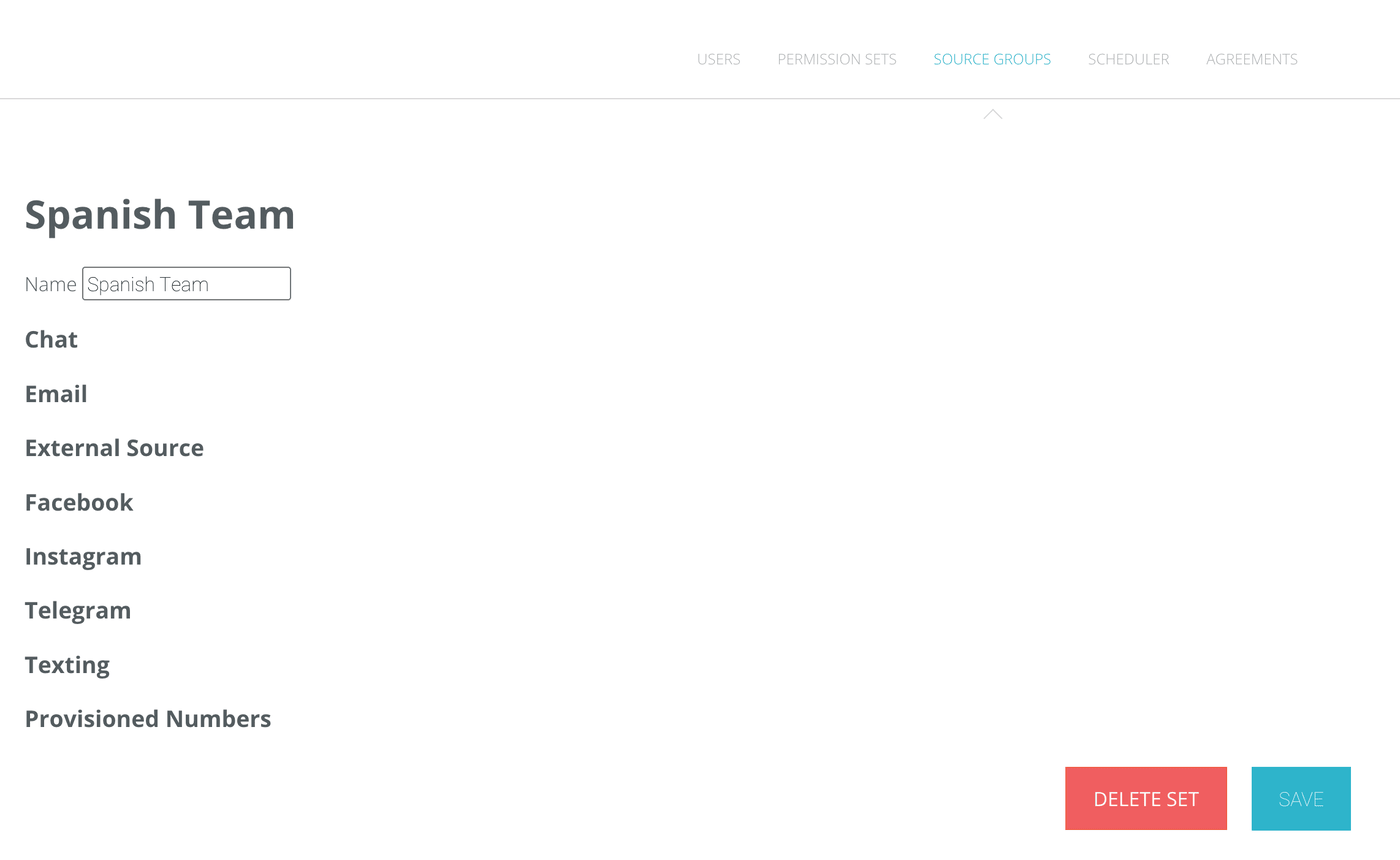
From the edit page, I can change the Source Group name if desired and/or I can select the sources I want to add to the group.
Available in this list are all of the sources in your system. They are organized under a heading for each type of source, such as Chat, Email, Facebook, Instagram, Texting, Whatsapp and Youtube, with your phone numbers listed last under Provisioned Numbers.
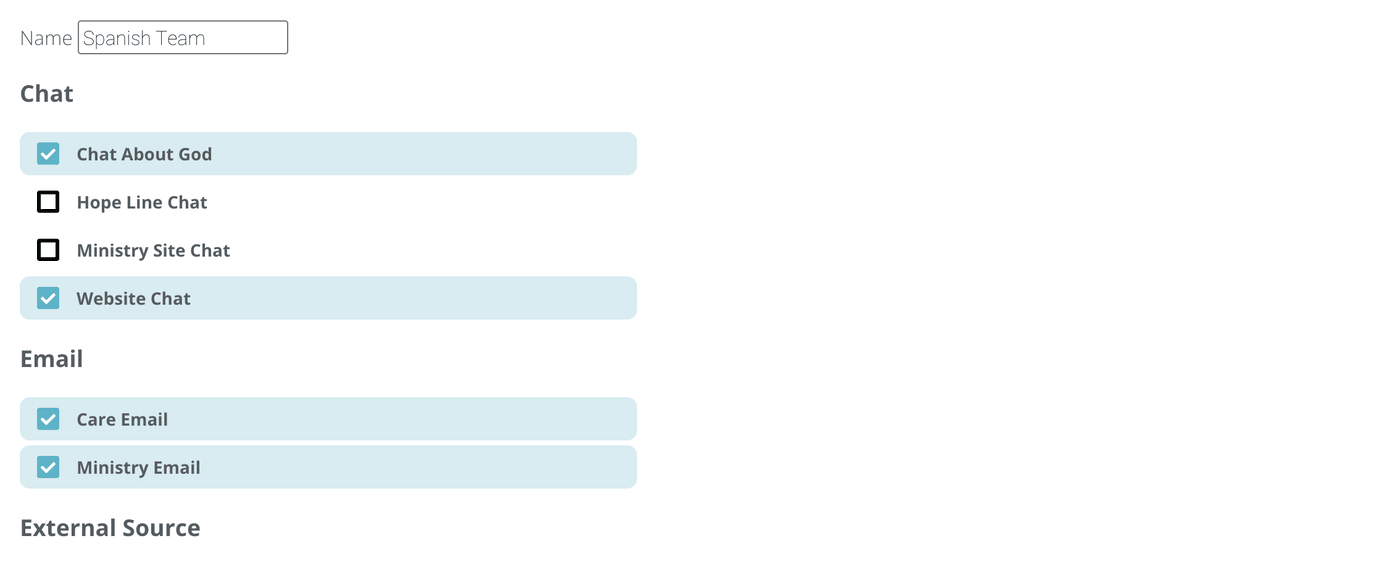
Each source has a check box beside it, to select or deselect a source for your Source Group, click the box.
When you've finished adding or updating your sources, scroll to the bottom of the page and select "Save".
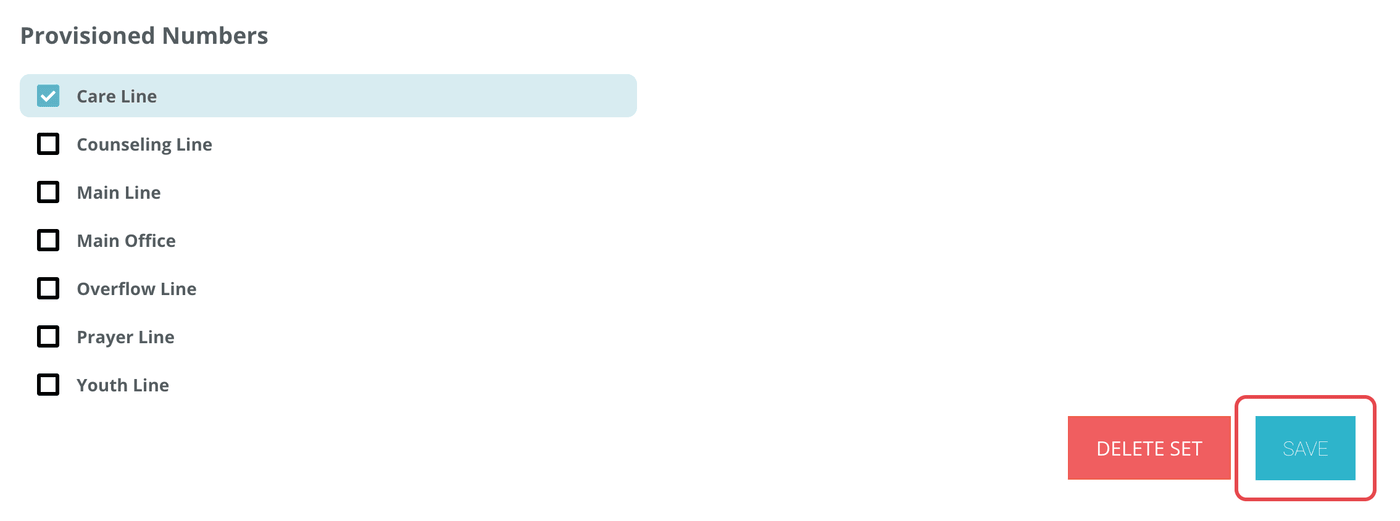
If you want to delete the entire Source Group completely, you can select "Delete Set".
Once you save your selections, you will see a count for the number of sources included in the Source Group.
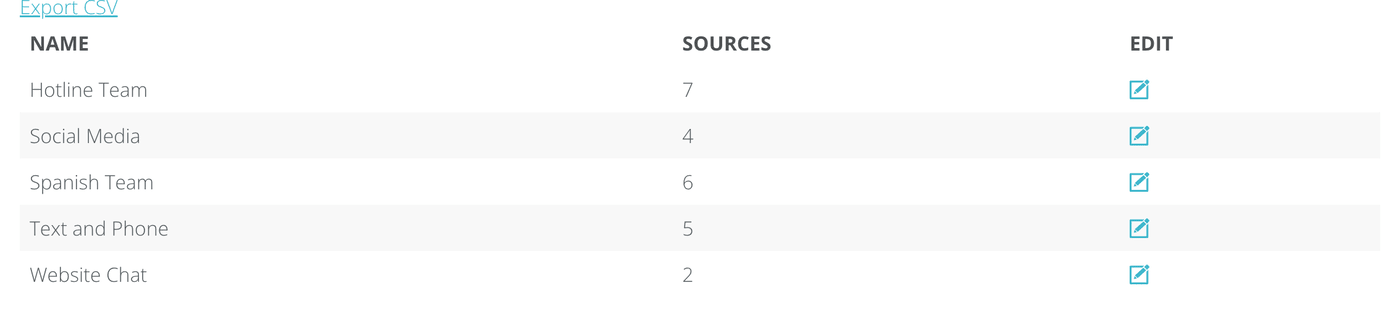
Using Source Groups
Now that you've set up your Source Groups, anyone with access to the Reports module or the CRM or Analytics module can use these groups when selecting sources.
From Reporting, when you click on "Sources", in addition to the options you had before, you will also see the Source Groups you've created in their own Source Groups section, each with a checkbox beside it and a count of how many of its sources are selected (for example 0/6).
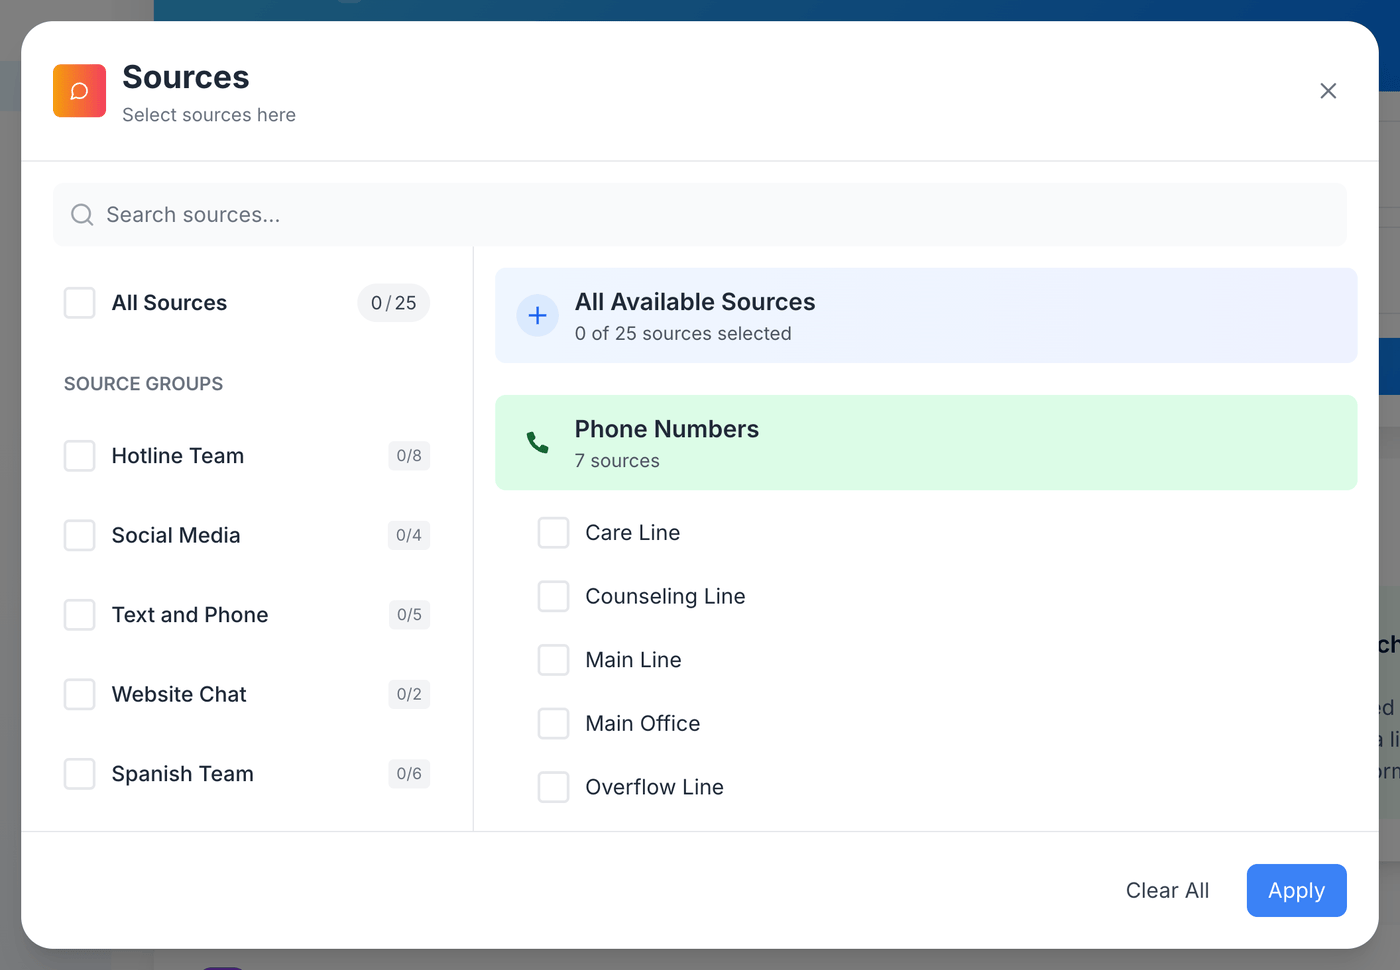
Tick the checkbox beside the Source Group you want and you will see its sources selected on your screen.
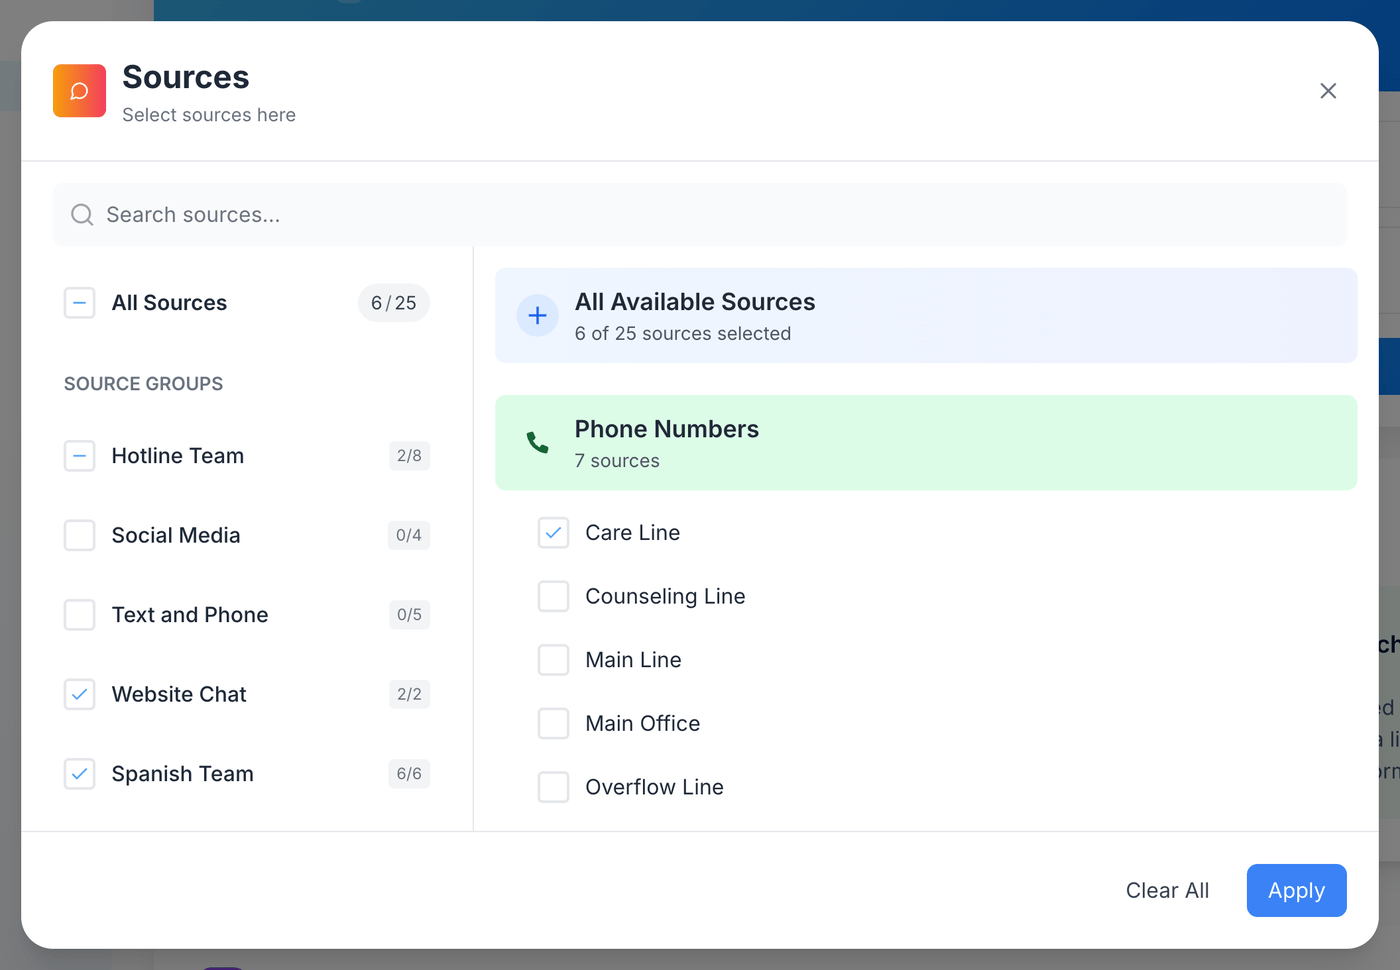
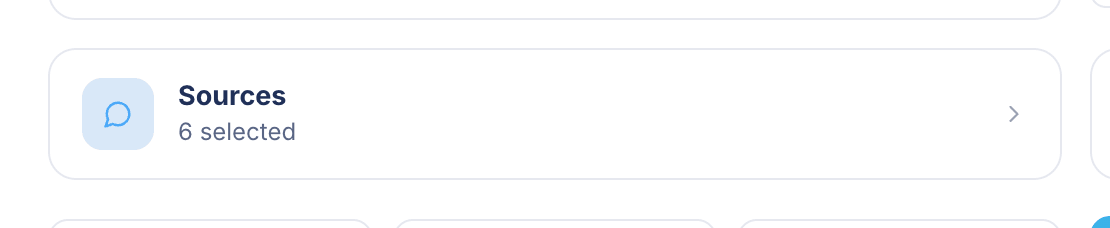
Click Apply to close the box. The Sources card now shows how many sources your search will use, for example "6 selected".
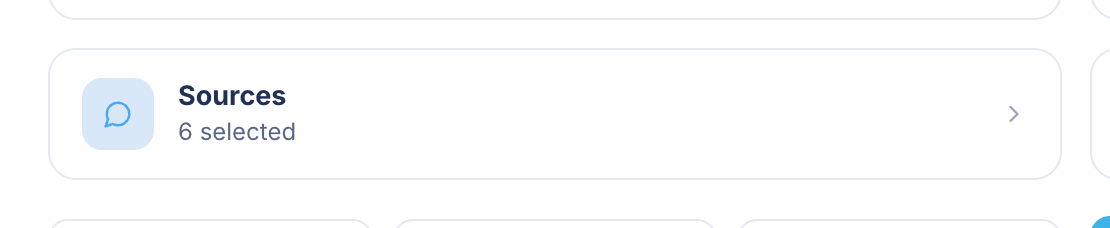
From CRM/Analytics, when you click on "Sources", in addition to the options you had before, you will also see the Source Groups you've created in their own Source Groups section.
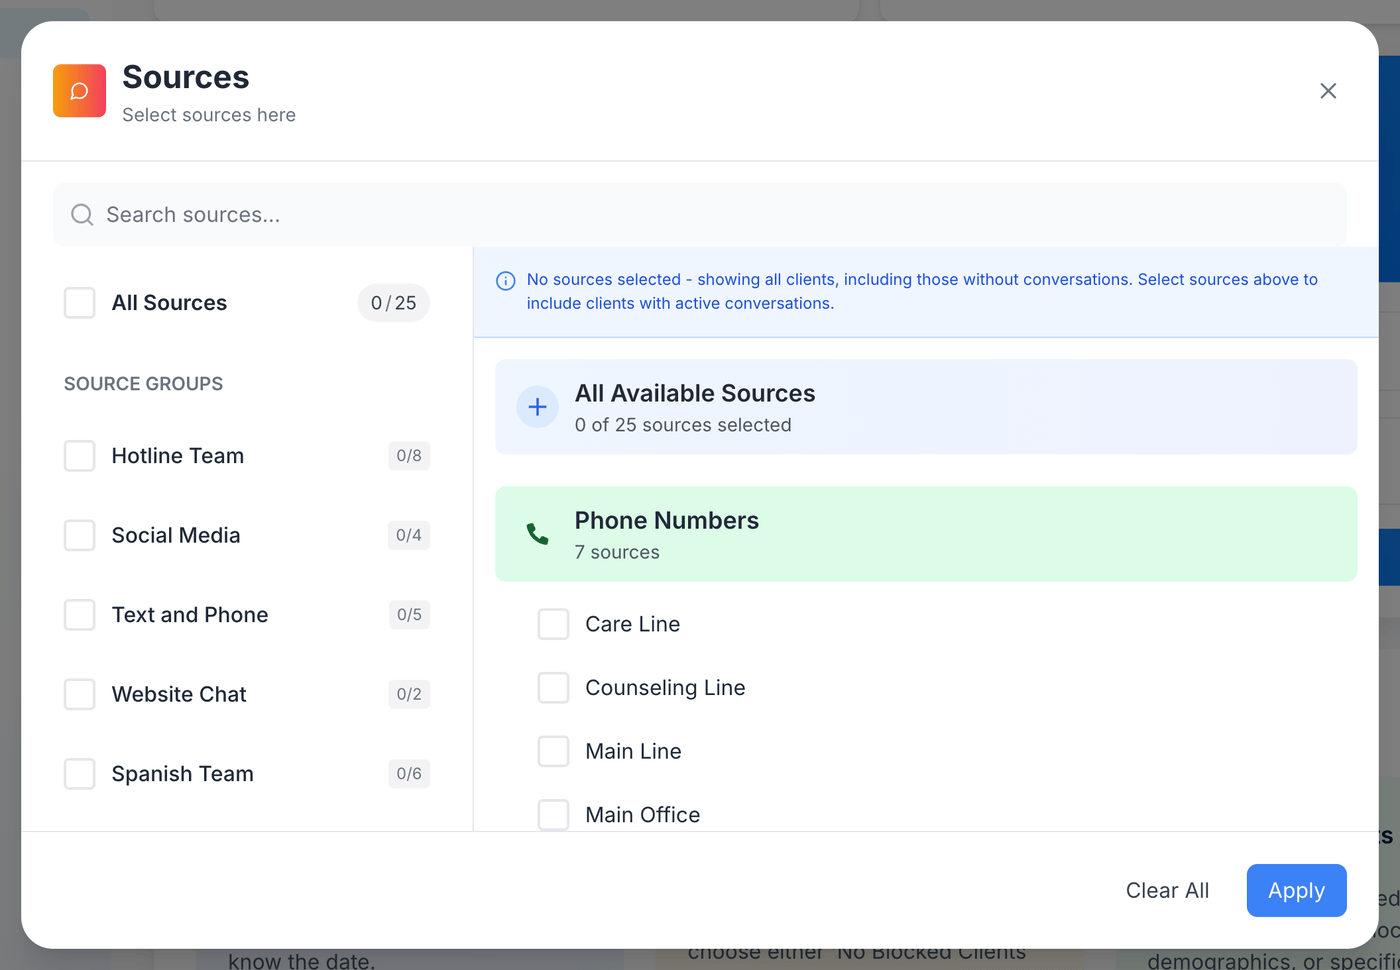
The easiest way to make sure you have the desired selections is to first clear your existing selections by unticking the checkbox next to All Sources until it is empty (or by clicking Clear All). This will deselect anything that is currently selected.
Now tick the checkbox beside your desired Source Group, which will select the sources in that grouping.
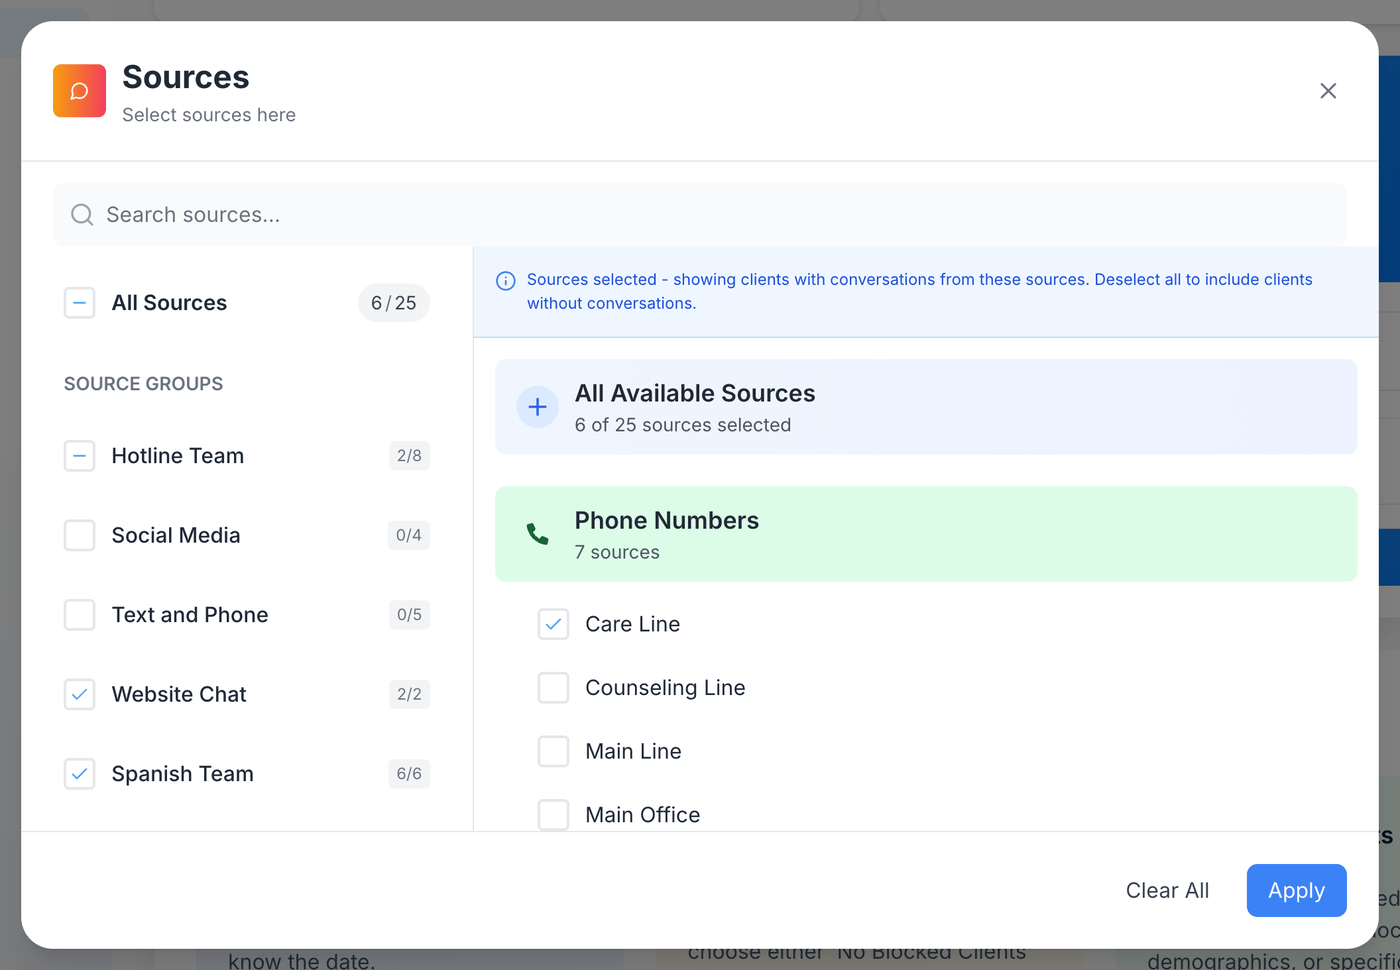
Click Apply to close the box. The Sources card now shows that only the sources in that Source Group are selected for your search.